www.lovesissy.com
  • Home
  • Walls
  • Accessories
  • Furniture
  • My Story
  • Asher
  • Olivia
  • FreeArtFriday

Repurpose: Chairs to Stools

11/25/2012

4 Comments

 
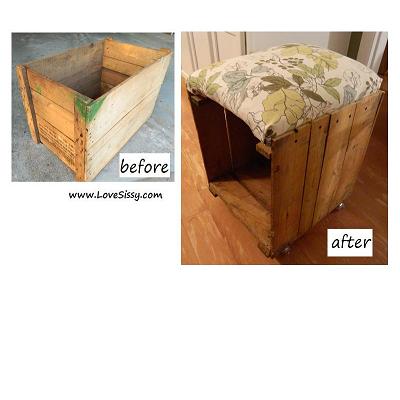
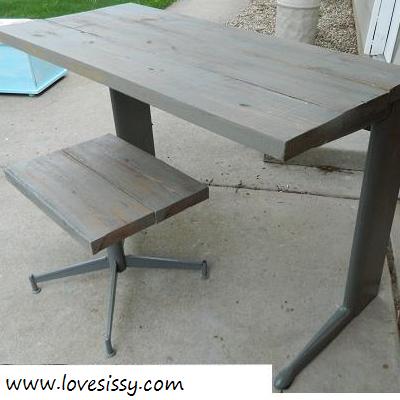
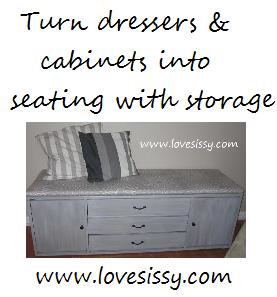
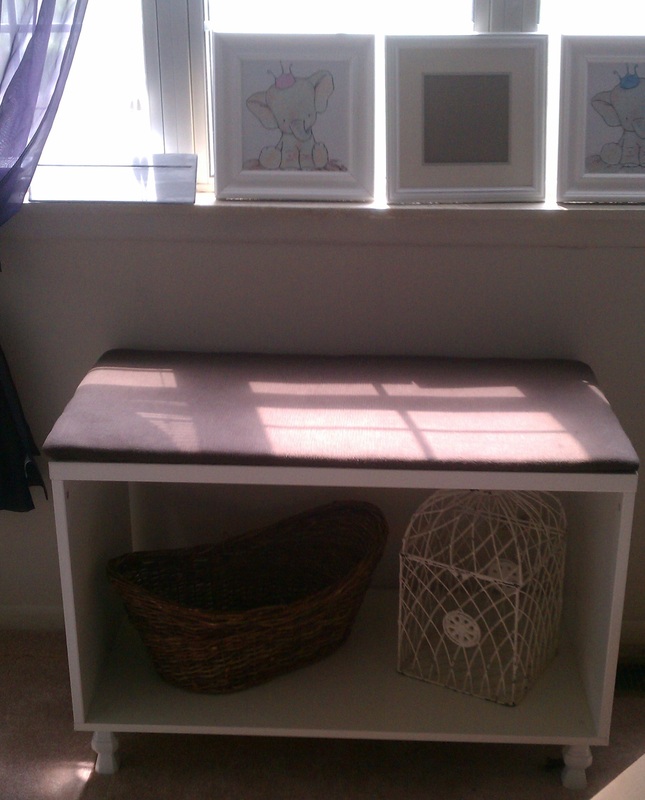
Stools are very versatile. They can be used as extra seating or as ottomans. They can be used at desks or vanities & they are compact and are easy to store & tuck away. Use them at the end of a bed in a bedroom or near a door to have a place to sit & put on shoes. Some people use them as pet beds & position them under windows to give your furry buddy a sunny spot to nap. 
Picture

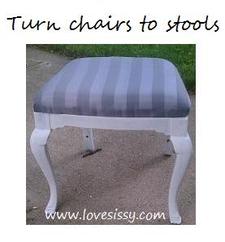
Here's how you do it...

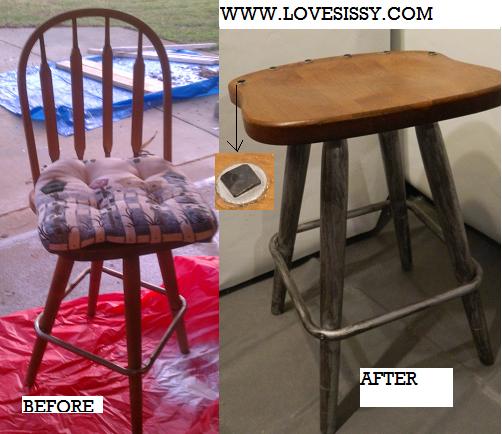
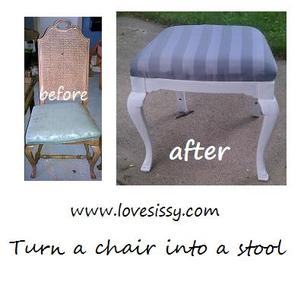
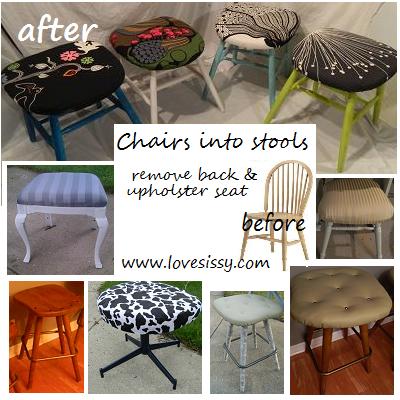
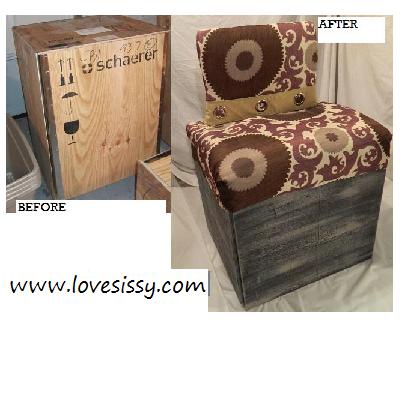
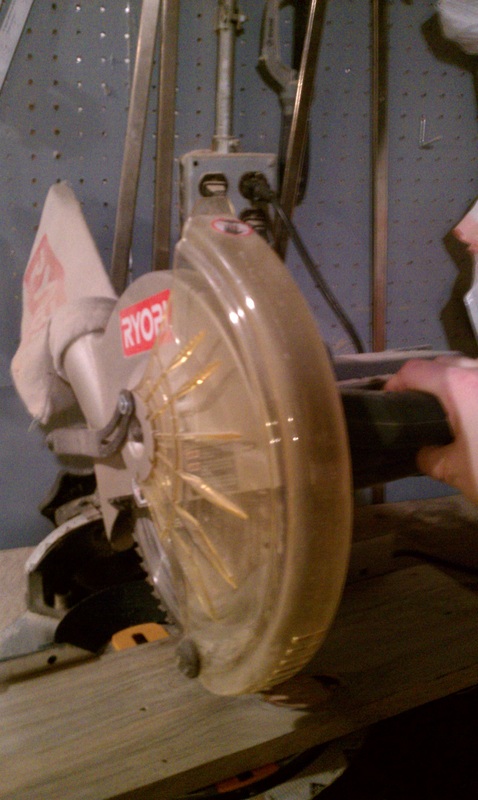
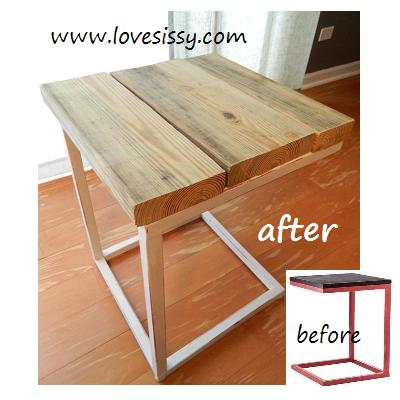
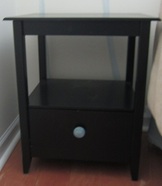
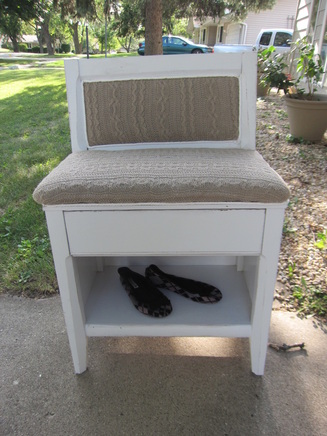
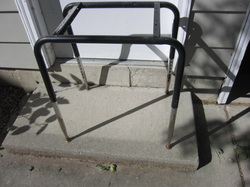
Flip the chair over, find & remove any screws holding the backs in place. Remove back (pull or use a hammer), paint chair base, add foam & upholster the top (or leave without padding or upholstery).

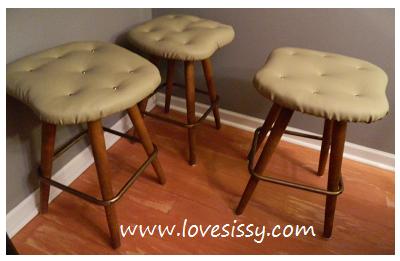
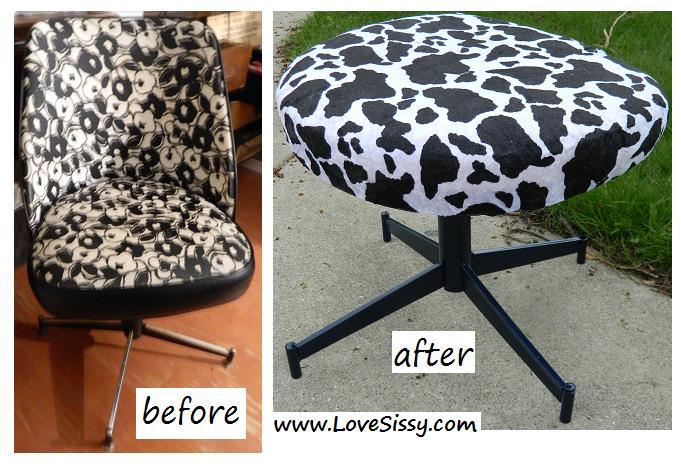
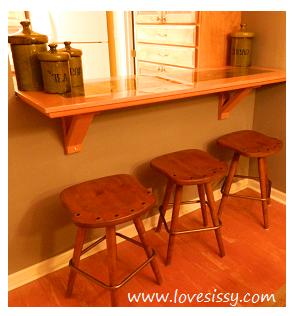
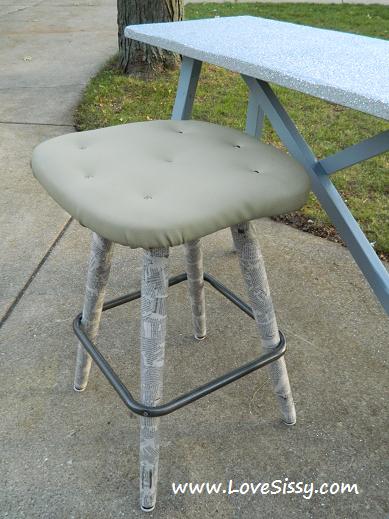
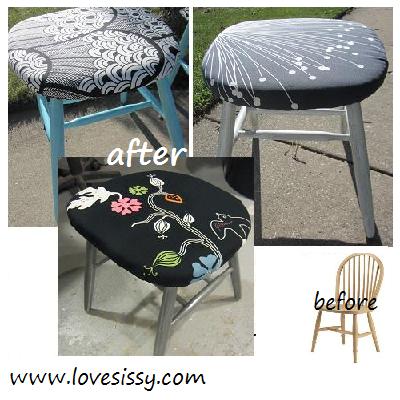
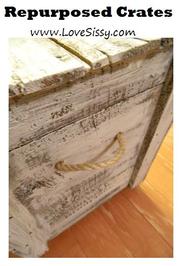
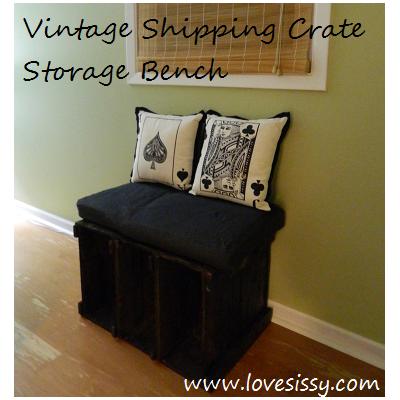
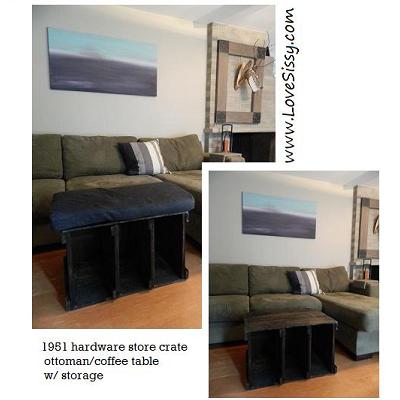
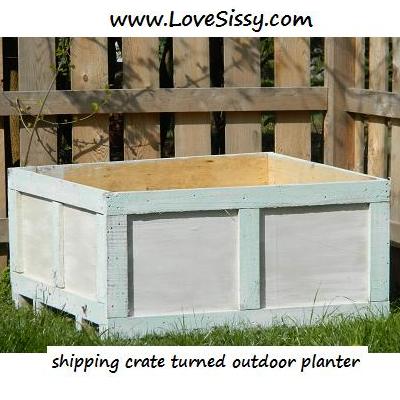
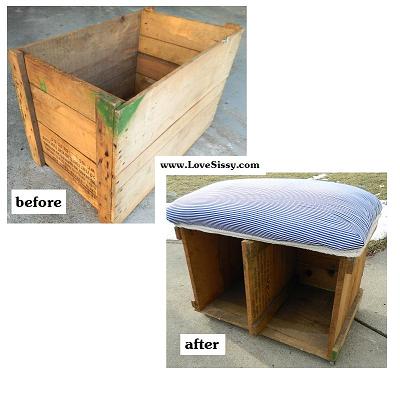
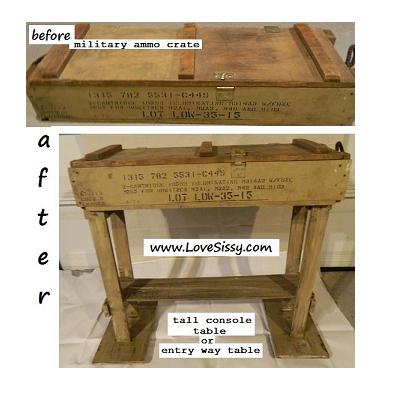
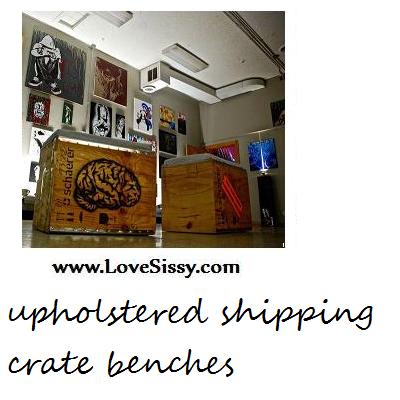
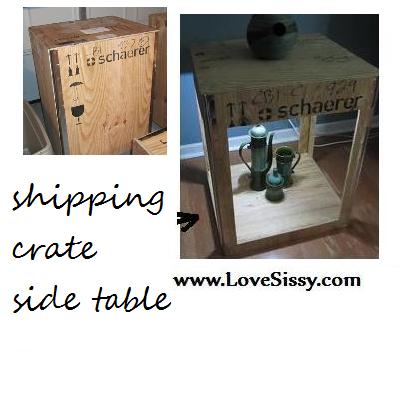
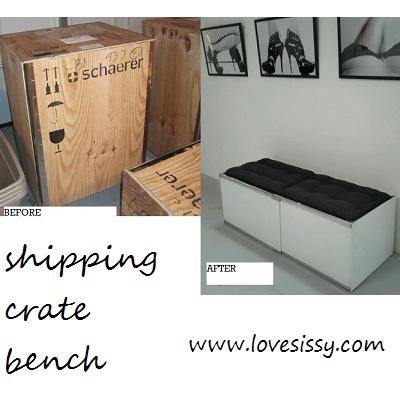
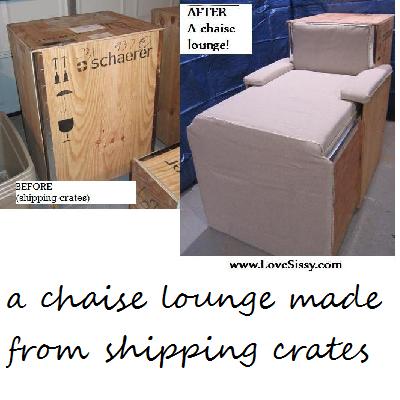
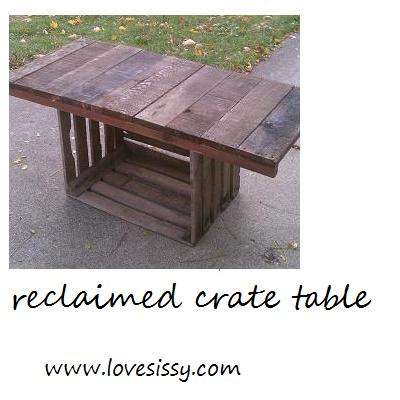
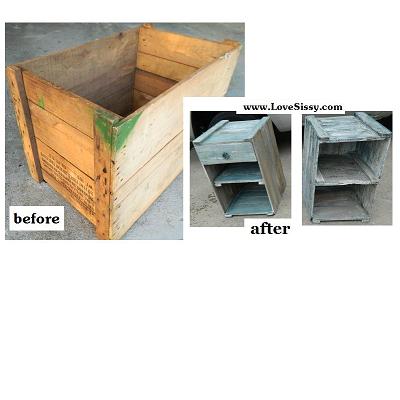
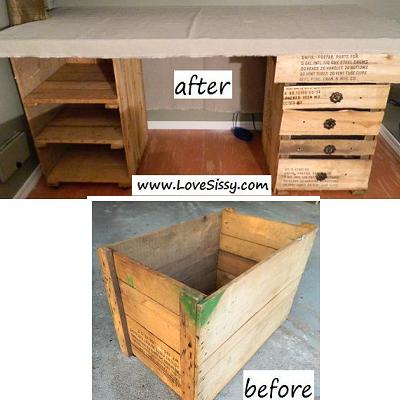
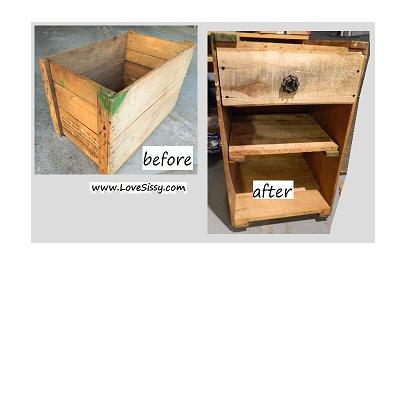
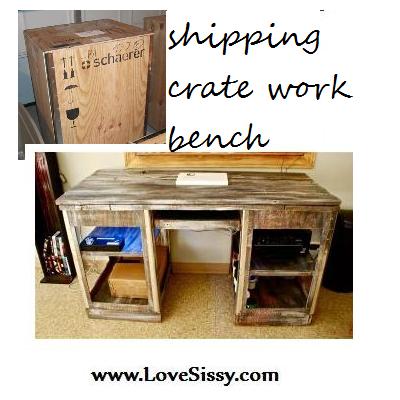
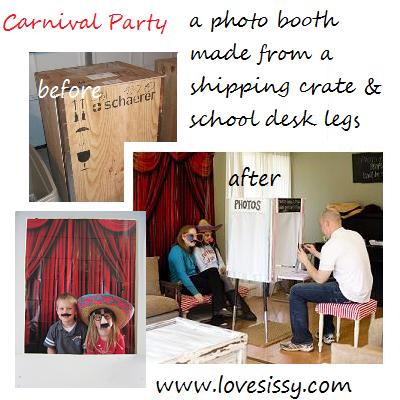
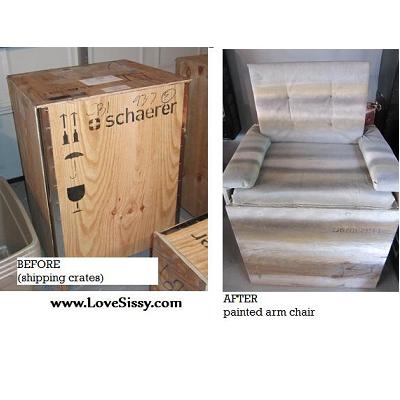
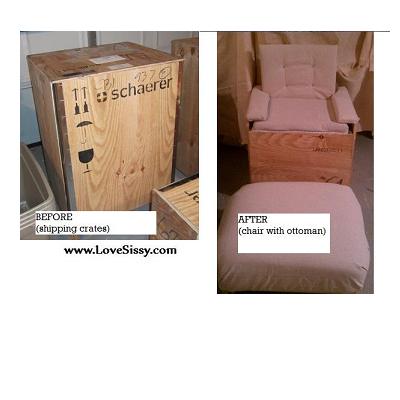
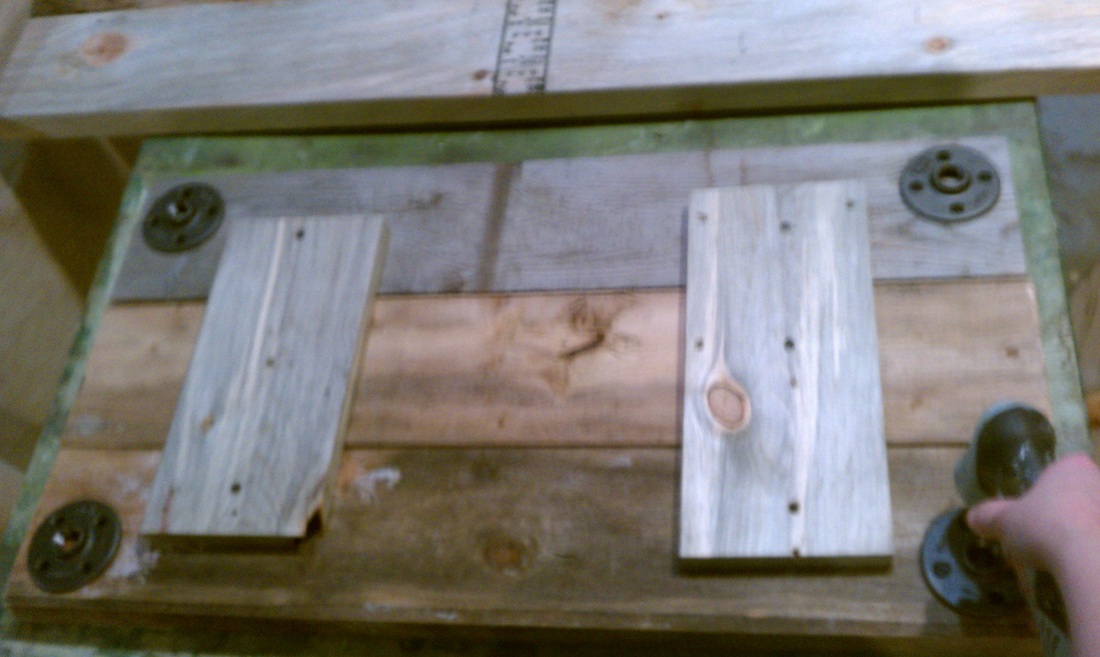
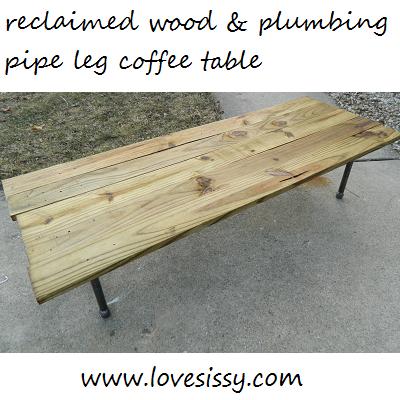
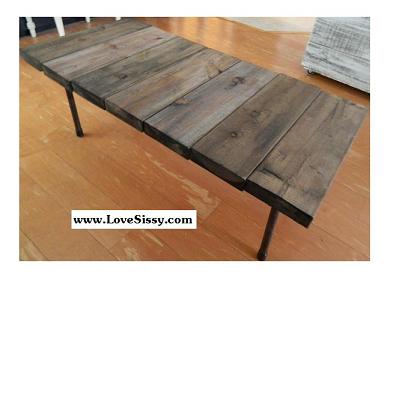
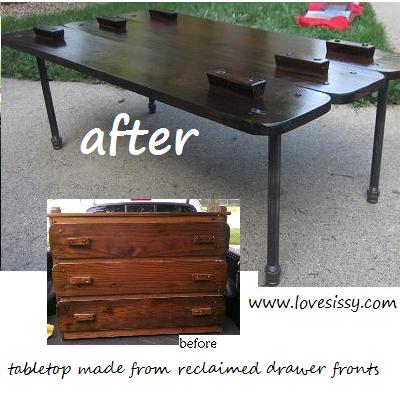
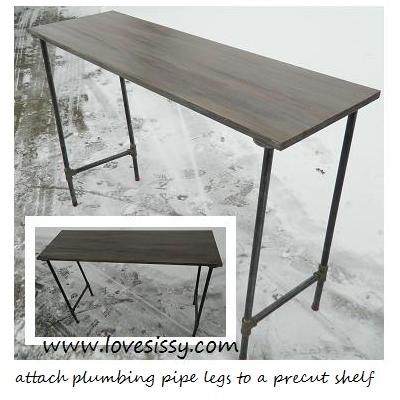
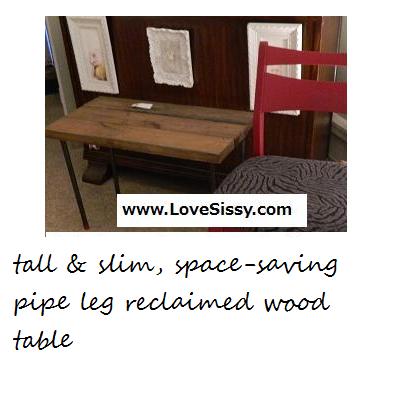
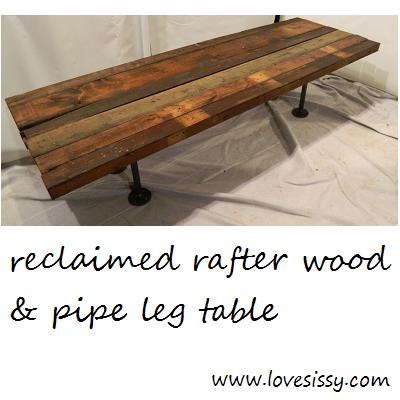
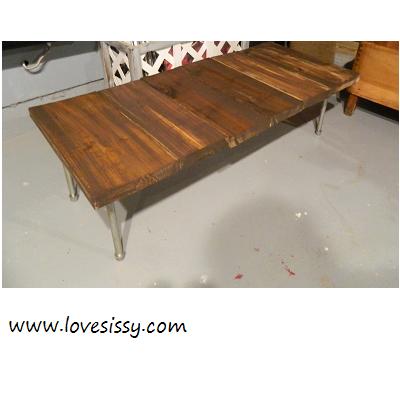
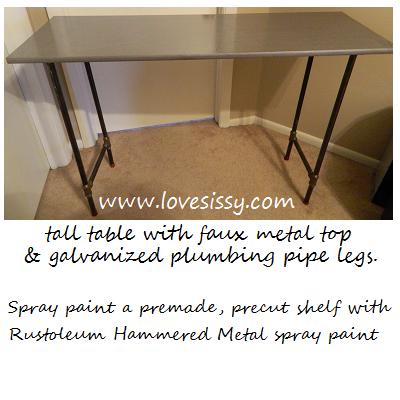
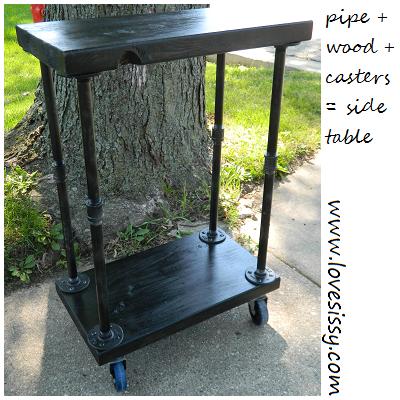
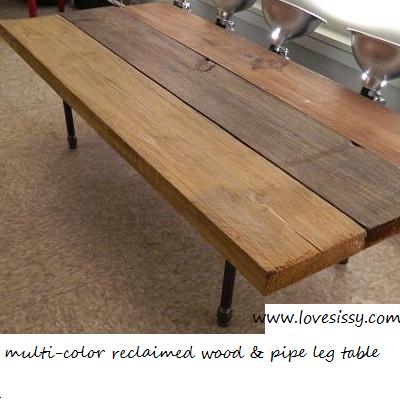
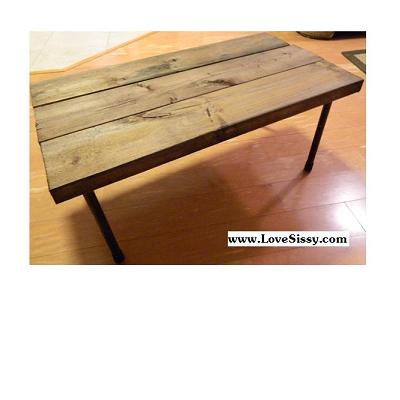
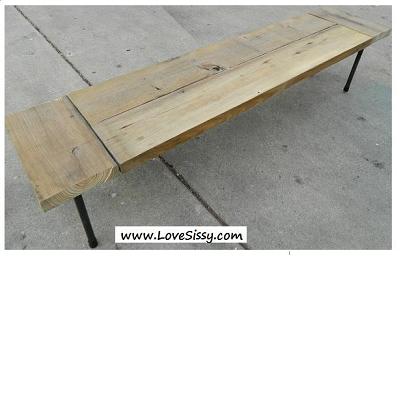
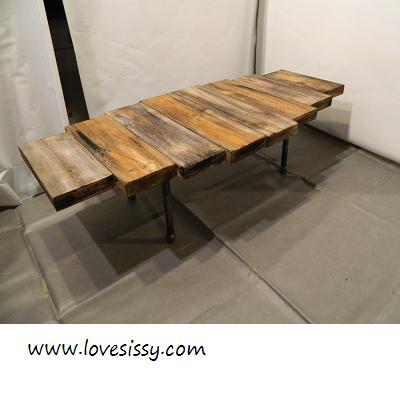
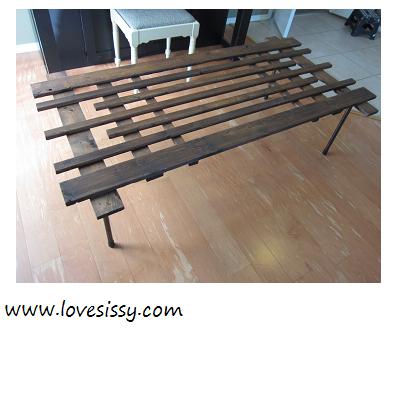
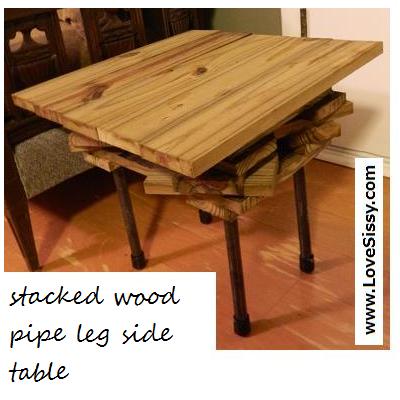
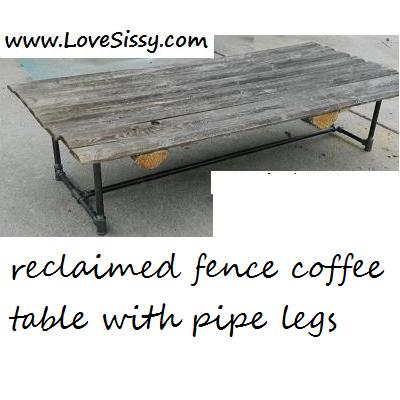
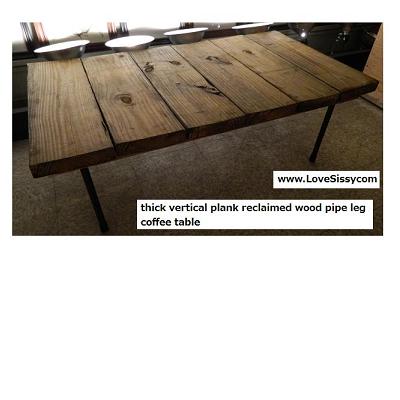
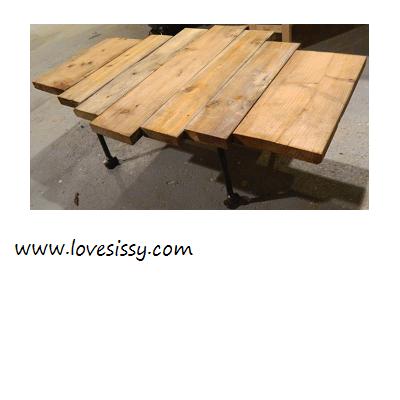
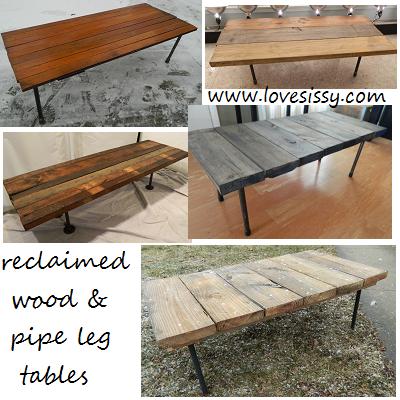
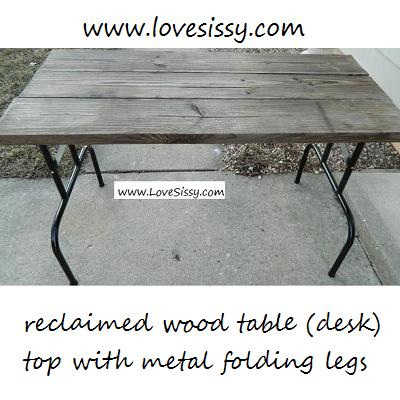
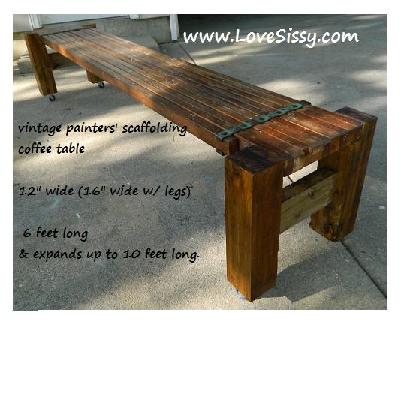
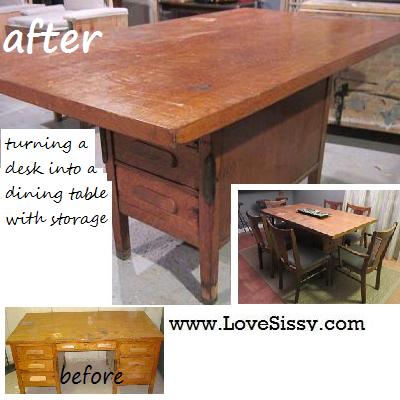
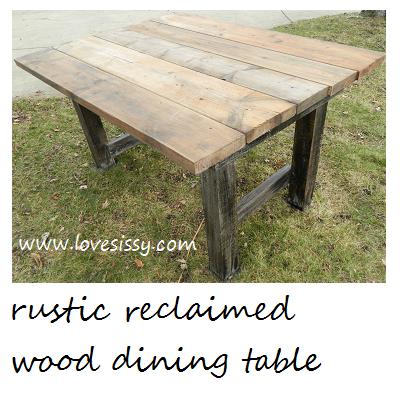
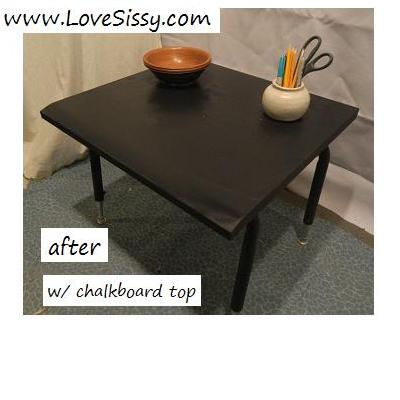
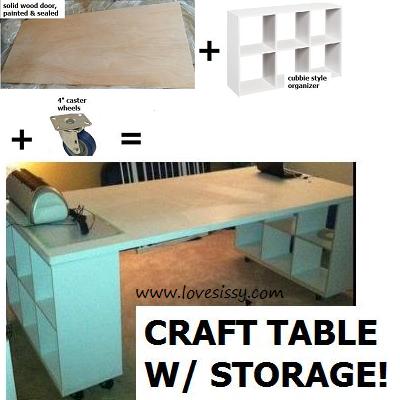
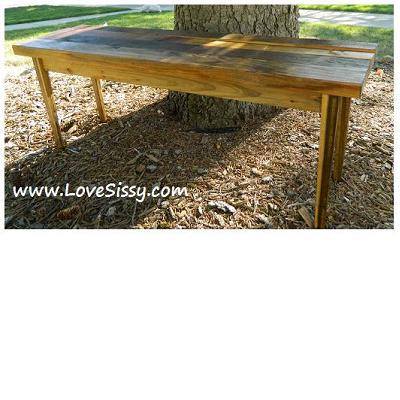
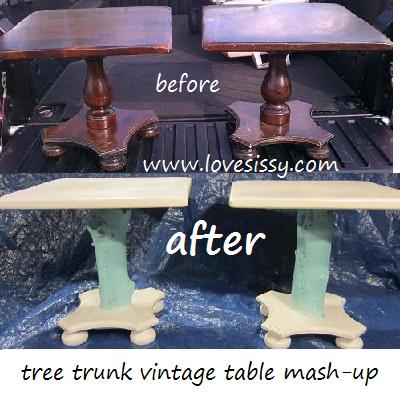
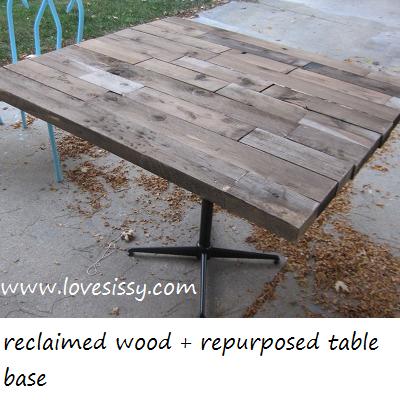
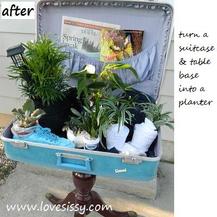
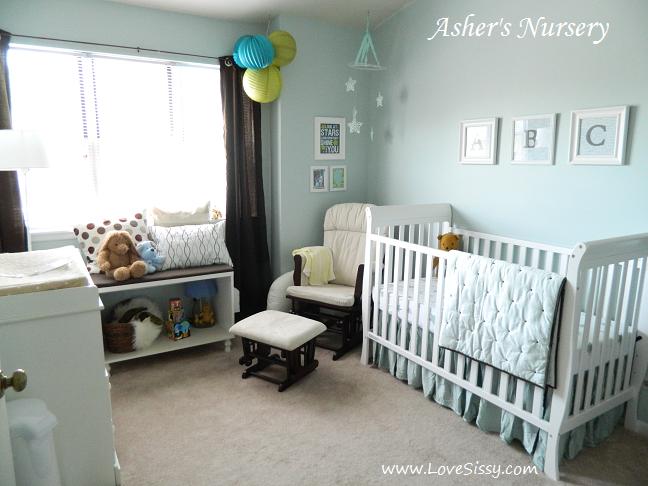
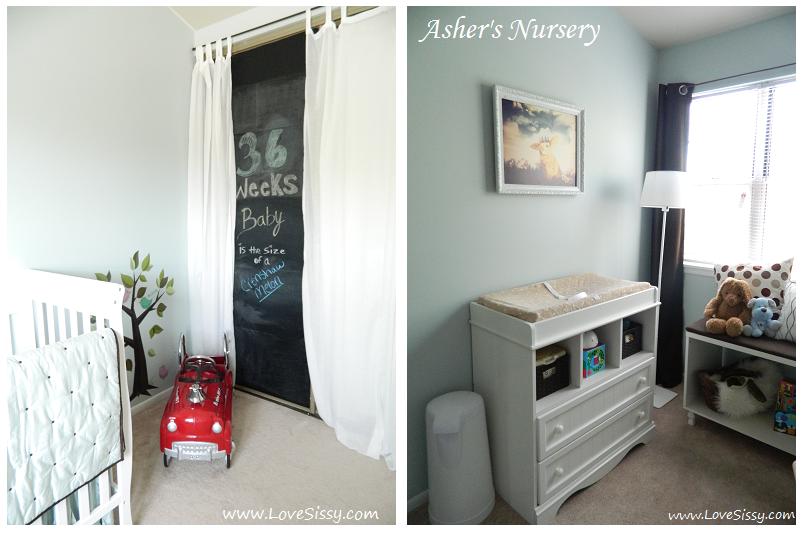
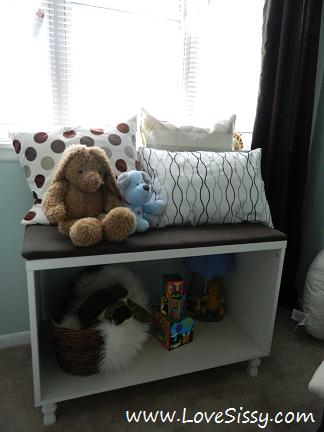
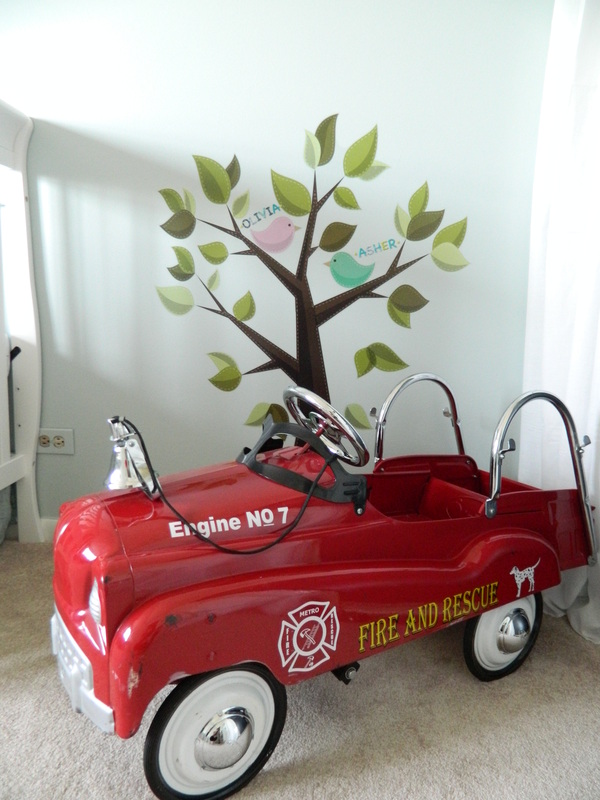
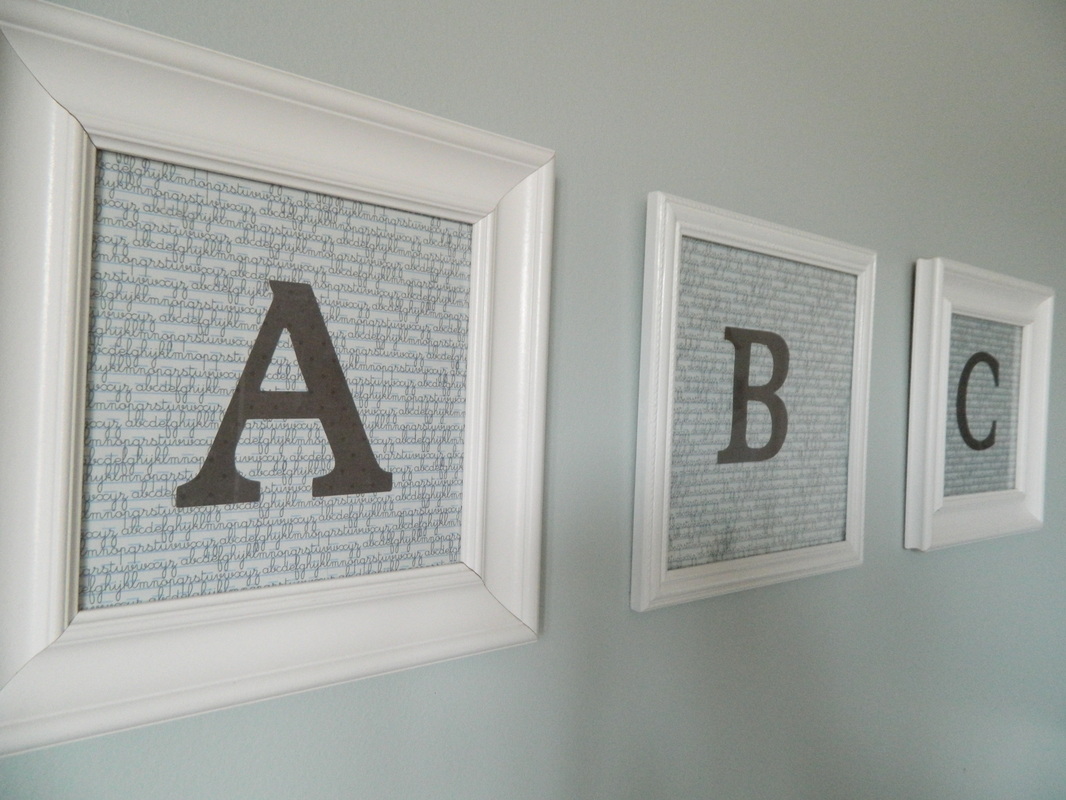
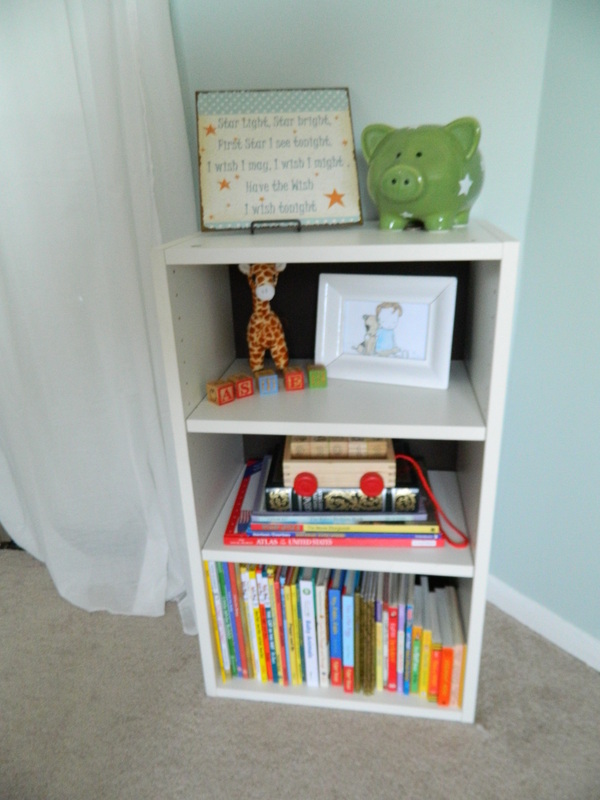
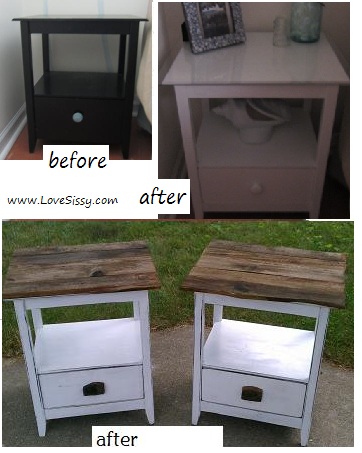
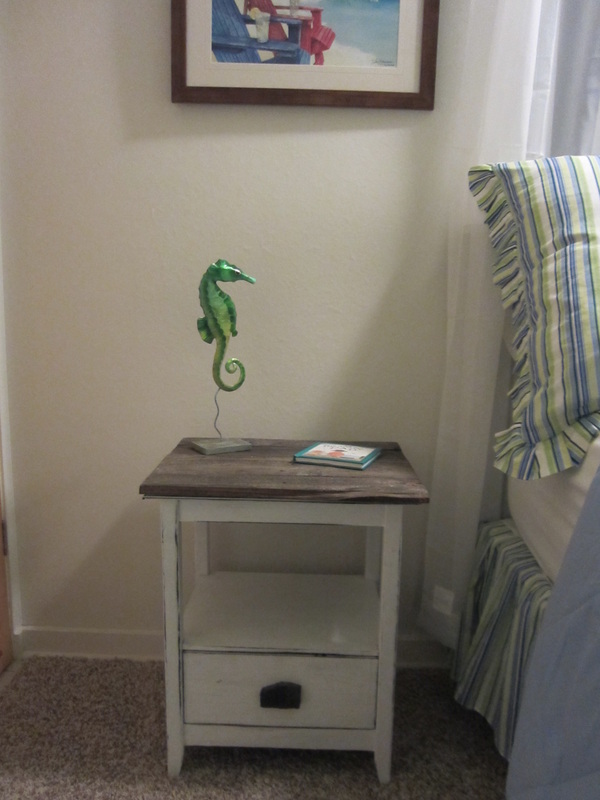
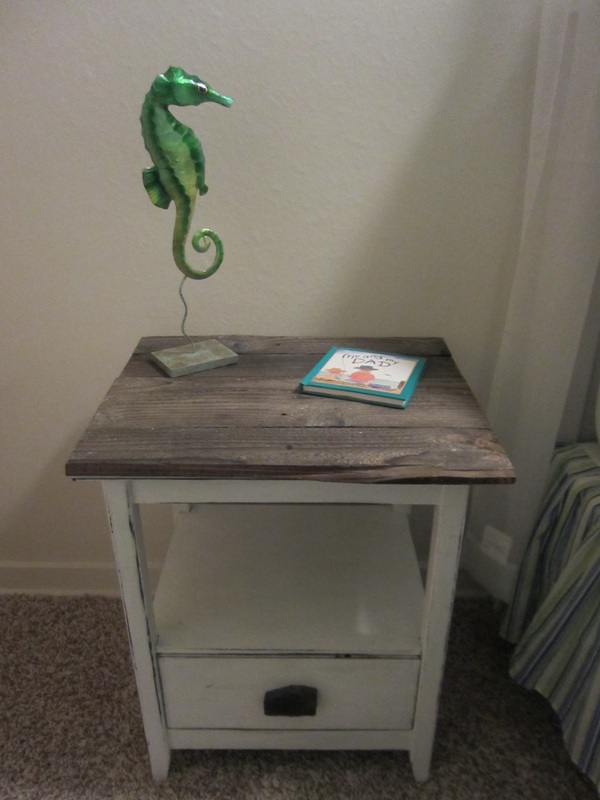
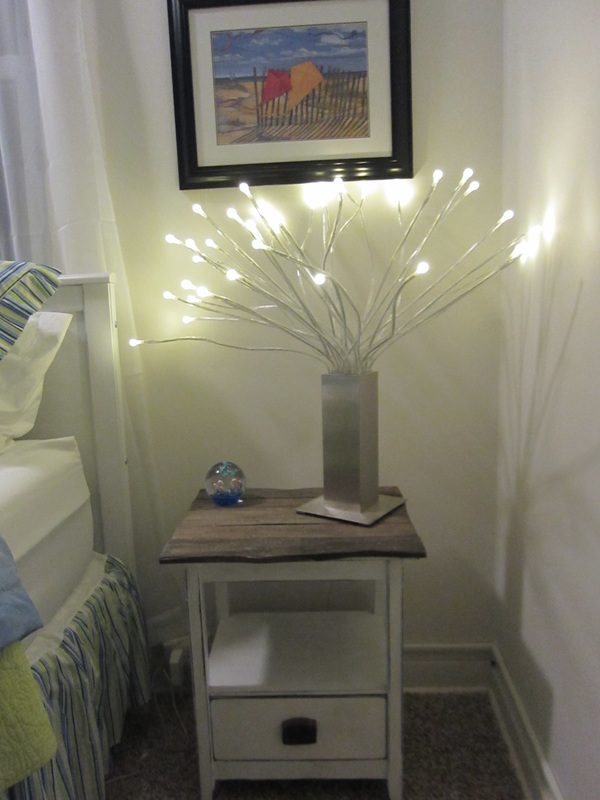
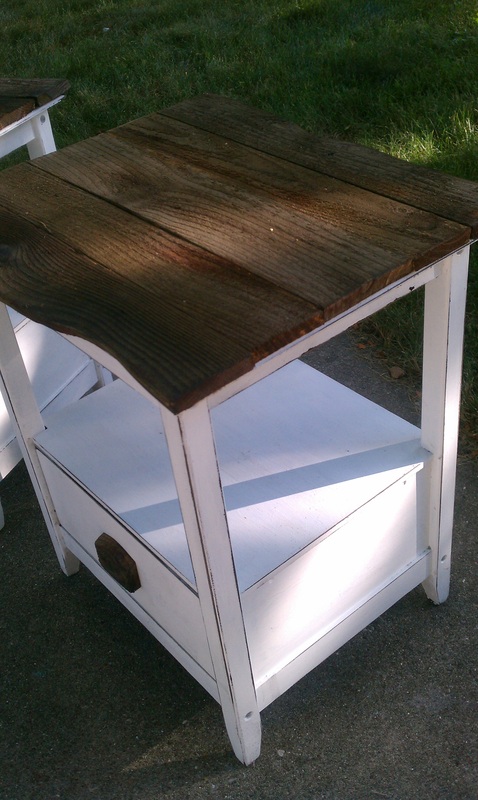
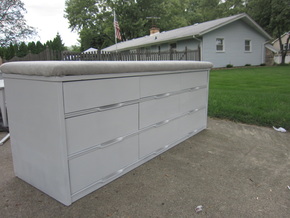
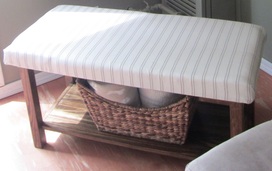
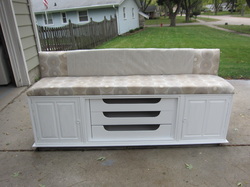
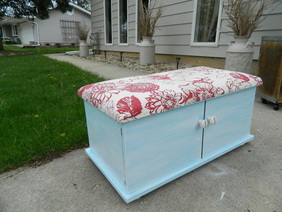
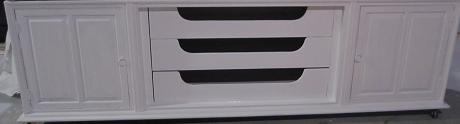
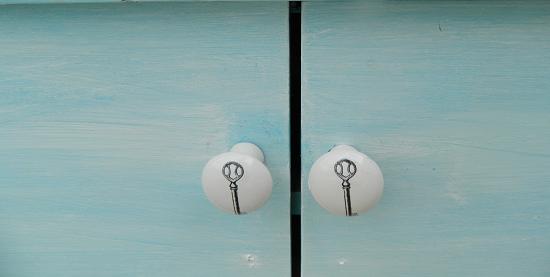
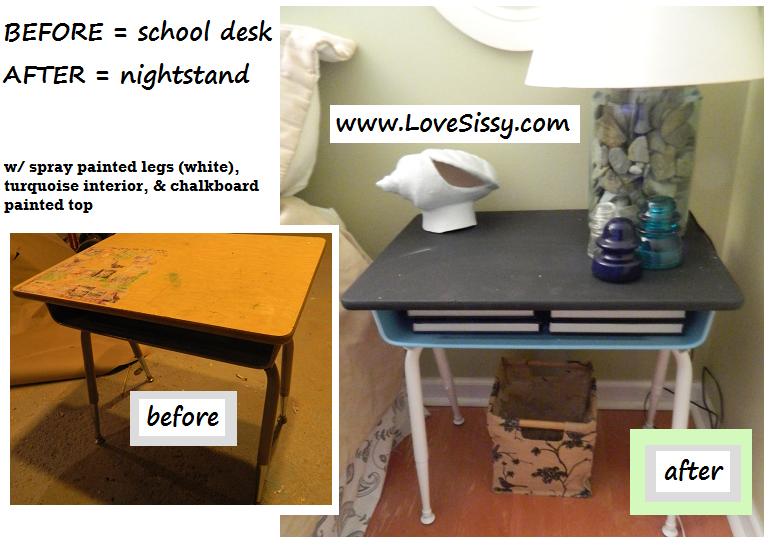
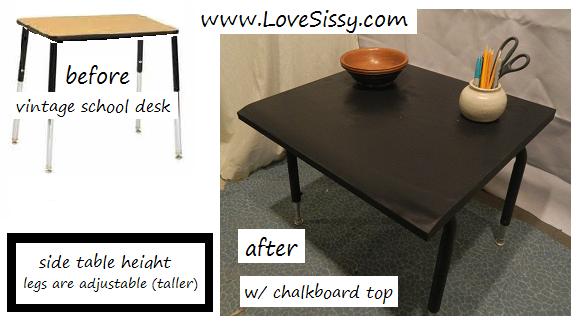
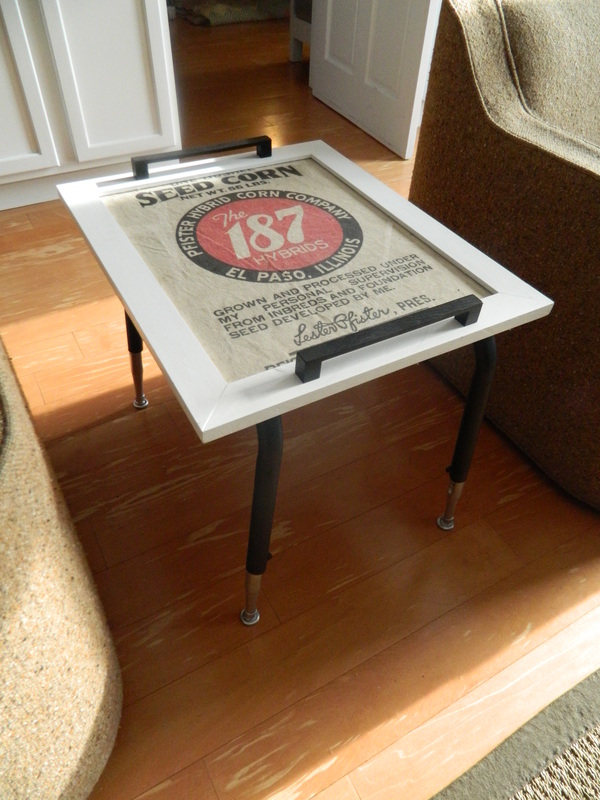
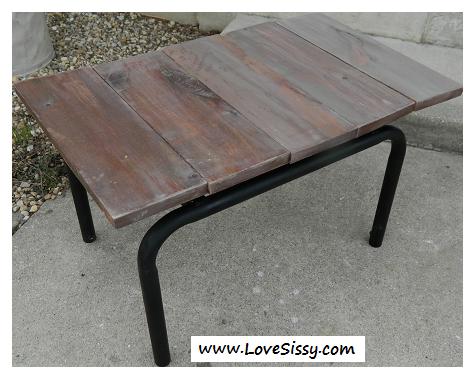
Here are some finished projects...

Picture
Picture
Picture
Picture
Picture
Picture
Picture
Picture
Picture
4 Comments

How To: T-Shirt Bags

11/25/2012

2 Comments

 
SO easy & absolutely no sewing necessary. These bags can be washed & take up very little room so it's easy to keep them in your glove box or under the seat of your car for shopping trips.

No Sew T-Shirt Bags

Picture

Just a little sewing t-shirt bags

Picture
Picture
2 Comments

How to: Fabric Flowers

11/25/2012

3 Comments

 
Picture
This is simple & quick. Use these for hair clips, head bands, to embellish throw pillows or blankets, or as cute bows on gifts. When using a hot glue gun, wear thick gloves to protect yourself from burns.

Click on the picture below to enlarge:
Picture
Picture
3 Comments

Repurposing Crates

11/25/2012

1 Comment

 
Picture
Shipping (& other types of) crates make a great base material to work with. They're really sturdy, you can often find them free or for very little money, & they add instant character & storage to a space. 


Crate Project Ideas:
Picture
Picture
Picture
Picture
Picture
Picture
Picture
Picture
Picture
Picture
Picture
Picture
Picture
Picture
Picture
Picture
Picture
Picture
Picture
Picture
Picture
Picture
Picture
Picture
Picture
Picture
Picture

How to Add Drawers to a crate

You can take the drawers & drawer parts from another piece of furniture & can modify & add those parts to a shipping crate to give it more functionality & storage.
Picture
Picture
1 Comment

How To Age Wood

11/25/2012

1 Comment

 
Picture
Soak steel wool in a jar of vinegar for a day or two. Then, put that concoction over any type of unfinished wood. Some type of chemical reaction happens (Science isn't my thing) to give it an aged look. To further age it, beat the heck out of the wood w/ a hammer or any old object laying around, drop the wood, kick it, etc. You can also use a dry brush to lightly add "old paint" to it.

A more labor intensive way to age wood would be to think about all the finishes it would've had if it were genuinely 50 years old. It would've been sanded & stained first.  Then, banged up A LOT & when it was good and banged up someone would've primed then painted it. Then over the years it would've been painted & repainted.  And finally, it would've been banged up more with a lot of wear on the edges, around knobs, etc.  So follow that pattern--sand it, stain it, beat it up, prime it, paint it, paint it, paint it, paint it, beat it up, use a sander to add wear to commonly touched areas & edges.  

Picture
1 Comment

Reclaimed Wood, Pipe Leg Tables

11/24/2012

4 Comments

 
Picture
Plumbing parts are Legos for adults. There are so many different shapes, sizes, & pieces that you can use to make legs for any type of table. The key is to add support bars or increase the width of the pipe you use as the weight of your table-top increases for stability. Plumbing parts aren't the cheapest legs out there, but they're certainly not the most expensive & they look really cool! 

First, here are the basics...

Picture

Step by Step

First, 

Gather old wood & cut all of the pieces (except one--set one aside) to the same length (any length that you'd like your table top to be). Then, cut the piece you set aside into two pieces that are 1-2" less than the width of your table. These will be the support braces that hold the planks together.
 If you can't find old wood, try the bargain bin at the hardware store & use these tips to artificially age it in an afternoon. 

Next, 

Lay your table top plank pieces face down & place the two support braces across the pieces. Put at least one screw (a few more--one in each corner & then a few down the middle is better) into each plank (make sure your screws aren't too long so they don't poke through your table top). Screw plumbing flanges into the table top to attach your plumbing pipe legs.

Finally, 

Screw your pipe legs into the flanges & add finishing touches. use a sticker scraping razor to remove price tags & add plastic feet to keep the table from scratching your floors. 
You can also flip the table over & seal it with wax or polyurethane. 
Picture
Picture
Picture
Picture
Picture
Picture

more wood plank, pipe leg tables...

Picture
Picture
Picture
Picture
Picture
Picture
Picture
Picture
Picture
Picture
Picture
Picture
Picture
Picture
Picture
Picture
Picture
Picture
Picture
Picture
Picture

other (non-pipe leg)

Picture
Picture
Picture
Picture
Picture
Picture
Picture
Picture
Picture
Picture
Picture
Picture
Picture
Picture
Picture
Picture
Picture
Picture
Picture
4 Comments

Asher's RH Inspired Nursery

8/28/2012

1 Comment

 
Picture
My sister-in-law created this beautiful space for my nephew Asher James who is due soon! (September) Asher has a heart condition that has already required surgery in the womb (a life saving procedure that had only been performed twice before) & surgeries after birth. Asher's mama (with a little help from Auntie on a few projects--the bench, a few pictures frames & shelves & a metal fire engine pedal card) created such a calm yet warm environment. My sis-in-law & I both love Restoration Hardware, but the prices are out of our league (speaking of leagues, check the party page next week for photos of Asher's baseball themed baby shower!).  The plan for this nursery was to create a RH inspired room based on their "Silver Sage" wall paint. The Restoration Hardware version of this nursery has a $4300 price tag! 

Asher's mama bargain hunted & used gifts, repurposed items she already had, thrifted finds, clearance pieces from RH mixed with internet, garage sale, IKEA, Target, & Hobby Lobby purchases. Do you see the gold A on the wall? Looks just like RH's, but was on clearance at Hobby Lobby for what you can find between your couch cushions on cleaning day! We repurposed IKEA "AS-IS" section pieces & vintage end table legs to create a sturdy storage bench window seat & she created her own wall art. I love that the old closet doors used to be mirrors, but are now covered with stick on chalkboard paper panels & softened with sheer curtains. 


All said & done the total amount of money that came out of Mama's pocket was only a few hundred dollars (including supplies) thanks to gifts from generous friends & family and my sis-in-law's serious shopping & creating skills.  (Just in case you wanted to know though, I did add up what you would have to spend to recreate the room if you purchased the items that were gifted & it still came in under $1,000. All of the furniture in the room is new, but to save even more you could use thrifted pieces & could come in closer to $600 if you really hunted & were willing to do some DIY.)

And here's Asher's Silver Sage nursery...

Picture
Picture
Picture
Picture
Picture
Picture
Picture
Picture
Picture

Update

We lost Asher on 10/23/12 after a 6 week battle with CHD (Congenital Heart Disease) & thrombosis (blood clots). His 6 weeks here were an amazing gift. Asher became one well known little guy & people from all over the world still continue to send their love to his family. To read his amazing story, please CLICK HERE. 
Picture
1 Comment

Particle Board Nightstand Makeover

8/7/2012

7 Comments

 
Picture
Particle board furniture gets a bad rap. It can definitely be worked with.  

step 1 = spray prime

Picture
Wear rubber gloves & spray prime table.
Picture
primer is necessary for paint to stick to particle board.

step 3 = touch up

Picture
While the 1st coat is drying, wrap your paint brush tightly in a rubber glove to keep the brush wet so you can reuse it for the touch up.  When 1st coat is dry, brush paint on areas that need more coverage.

Before

Picture

step 2 = paint

Paint w/ cheap bristle brush & gloss white paint to get the brush strokes that give it a hand painted look & character.
Picture
Picture

step 4 (optional)

Take the glass out of a 16x20 picture frame & use on top of the table. Slide pictures, post cards, etc. under glass.
Picture

You can stop there or you can do this...

Picture

step 5 = distress

Picture
Sand edges to give table a distressed look. 

step 6 = add reclaimed wood

Distress new wood (with vinegar/steel wool or with stain & paint) to look reclaimed or salvage old wood. Cut wood to size &  use construction adhesive & screws to adhere wood to existing table top. Cut a small chunk or use a scrap to make a drawer pull. 
Picture
Picture
To attach the drawer pull, you just screw it right into the drawer front (not into the existing hole--make a new hole slightly to the side of that one so that your screw is in there tightly).

step 7 = seal it!

Picture
Seal it all using polyurethane.   You can also use a wood sealing wax on the wood top to give it more depth & character & shine.

This is what it will look like when it's done!

Picture
Picture
Picture
Picture
Picture
7 Comments

Repurposing: SEATING WITH STORAGE

7/16/2012

0 Comments

 
If I had a world of my own, everything would be nonsense. Nothing would be what it is, because everything would be what it isn't. -Alice, Alice in Wonderland
Picture
A good DIY project solves a problem & saves money. Repurposing inexpensive items (or items we already have) opens up a whole new world of possibilities. You can't have too much seating or too much storage. When you take a dresser or cabinet and turn it into a bench, you get more of both! You can fit this seating option in slim spaces, including entry ways and shoes, toys, or other visual clutter can be put behind closed doors or drawers. If you don't have a separate mudroom, a storage bench is the perfect solution. You can put one at the end of your bed in a bedroom or as built in seating in a dining room. When done in neutral colors, a dresser bench can move from room to room or place to place with you. Use outdoor fabrics, paints, & sealers and they work outdoors too!
Check out these ideas for seating with storage & a "HOW TO" at the end of this post.
Picture
Picture
Picture
Picture
Picture
Picture

HOW TO!

Step 1: Find the right starting piece

You'll want to find a dresser or cupboard that is bench height or a dresser that has legs. Legs are easy to remove (they generally just unscrew--those are the easiest). Remove the legs & you have a bench height furniture piece.
Here are a few BEFORE pictures of good starting pieces...
Picture
Picture
Picture
Picture

Step 2: Paint & hardware

Remove old hardware & prime & paint the piece.
Picture
Picture
Picture
Picture

Step 3: Create upholstered top

Cut a piece of plywood the same size as the existing top of the bench. Then, spray glue padding & a layer of batting to the top.  Finally, use a staple gun to upholster the top.  Here is a great tutorial from The Little Green Notebook on upholstering a bench top & on how to do the corners (which can be tricky) UPHOLSTERING A BENCH TOP + CORNERS

Step 4: Attach top to bench

After the top is upholstered, position it on top of the piece's existing top, remove the drawers (or open the cupboards) & screw it in from the underside/inside with screws long enough to go through both layers, but short enough not to poke through your upholstered bench top.

Step 5: wheels or felt

Picture
For indoor benches add felt to the bottom to protect the floors. For outdoor benches, add short casters or wheels to make them easy to move.  You just screw these wheels right into the bottom of the dresser. 
Picture
Picture
0 Comments

School Desks

5/2/2012

0 Comments


things to do with...

SCHOOL DESKS & SCHOOL DESK LEGS
Picture
School desks have these great legs that separate & reattach easily (just a couple screws) & their legs are adjustable! You can use the school desks as is, redo them, or separate the legs from the tops & reuse the legs for other projects.

BEDSIDE TABLE

Picture

SIDE TABLE

Picture

TRAY TOP TABLE

Picture

RECLAIMED WOOD TOP

Picture

BENCHES

Picture
0 Comments
Forward>>

    THanks!

    Thanks for visiting. Hope you're enjoying the blog. Visit me on facebook if you have a minute. I love new friends.

    Archives

    July 2013
    April 2013
    March 2013
    February 2013
    January 2013
    November 2012
    August 2012
    July 2012
    May 2012

    Categories

    All
    Chairs To Stools
    Dresser To Storage Bench
    Fabric Flowers
    Headboard
    How To Age Wood
    Mod Podge
    Particle Board Redo
    Plank Pipe Leg Tables
    Reclaimed Dining Table
    Repurpose Crates
    Repurposed Furniture
    Repurposed School Desks
    Restoration Hardware Copy
    Rock Lamp
    Rustic Tableware
    Suitcases
    Tee Pee
    Tree Branch Slices
    Tshirt Bag

    RSS Feed

Powered by Create your own unique website with customizable templates.