
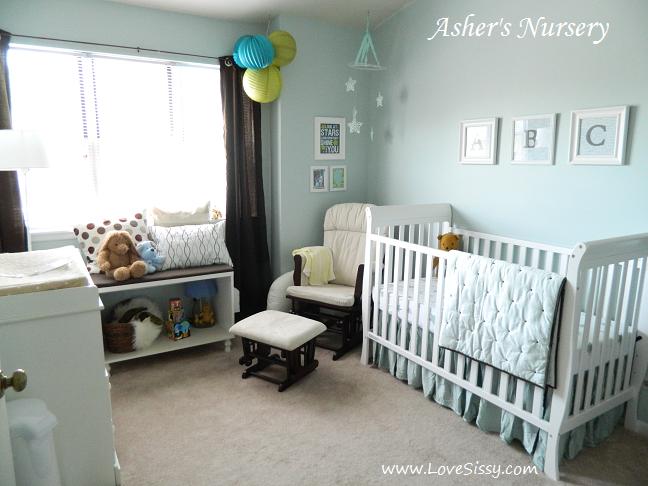
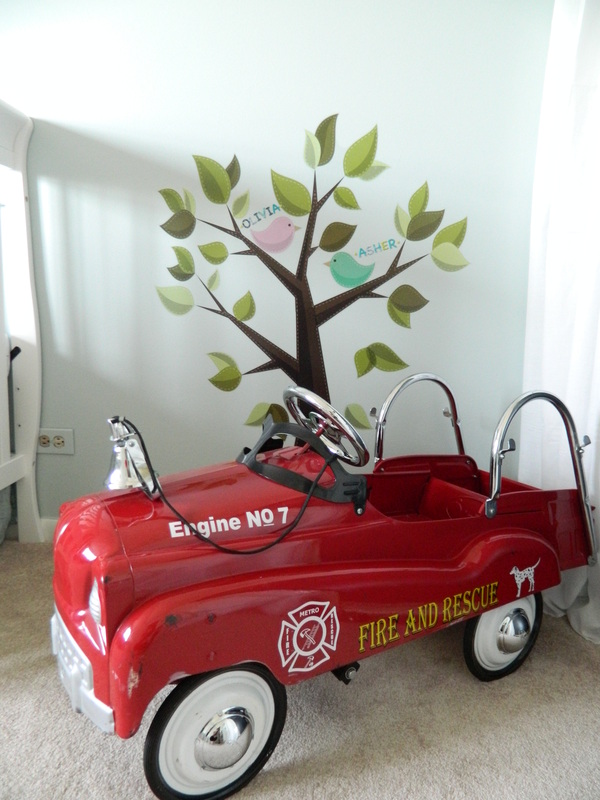
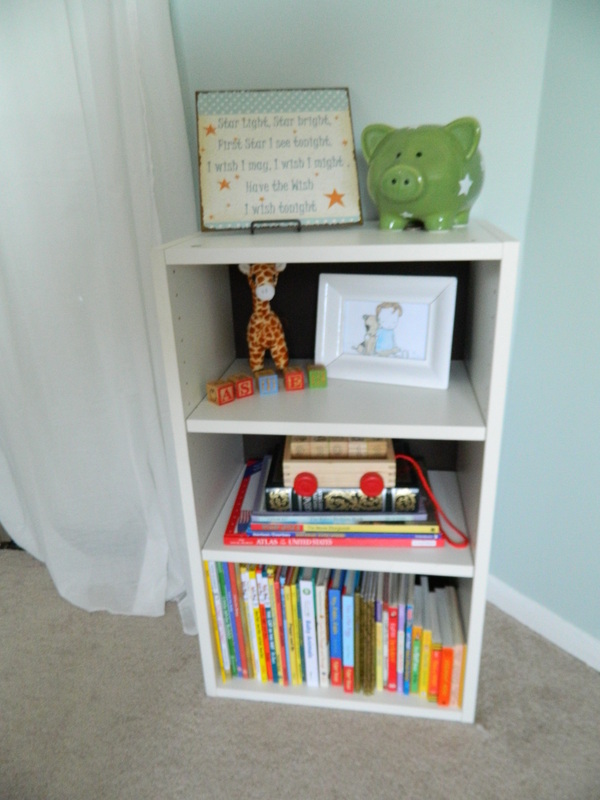
My sister-in-law created this beautiful space for my nephew Asher James who is due soon! (September) Asher has a heart condition that has already required surgery in the womb (a life saving procedure that had only been performed twice before) & surgeries after birth. Asher's mama (with a little help from Auntie on a few projects--the bench, a few pictures frames & shelves & a metal fire engine pedal card) created such a calm yet warm environment. My sis-in-law & I both love Restoration Hardware, but the prices are out of our league (speaking of leagues, check the party page next week for photos of Asher's baseball themed baby shower!). The plan for this nursery was to create a RH inspired room based on their "Silver Sage" wall paint. The Restoration Hardware version of this nursery has a $4300 price tag!
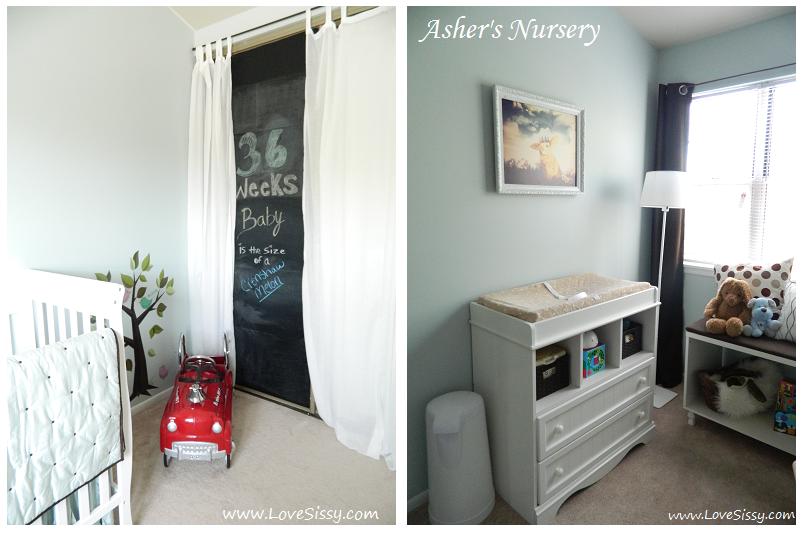
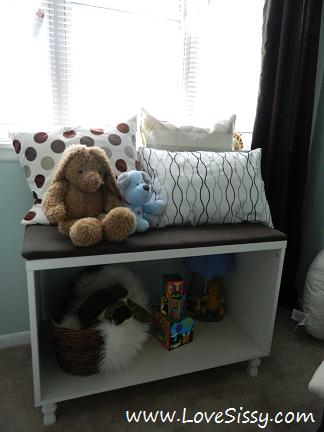
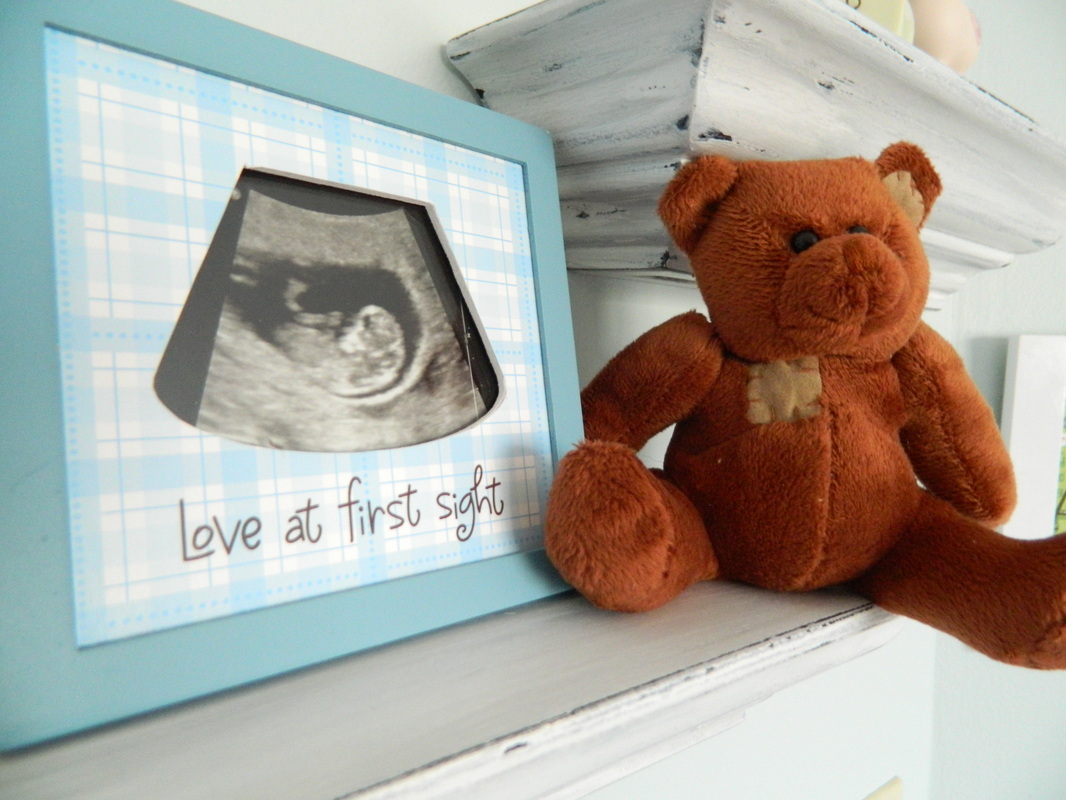
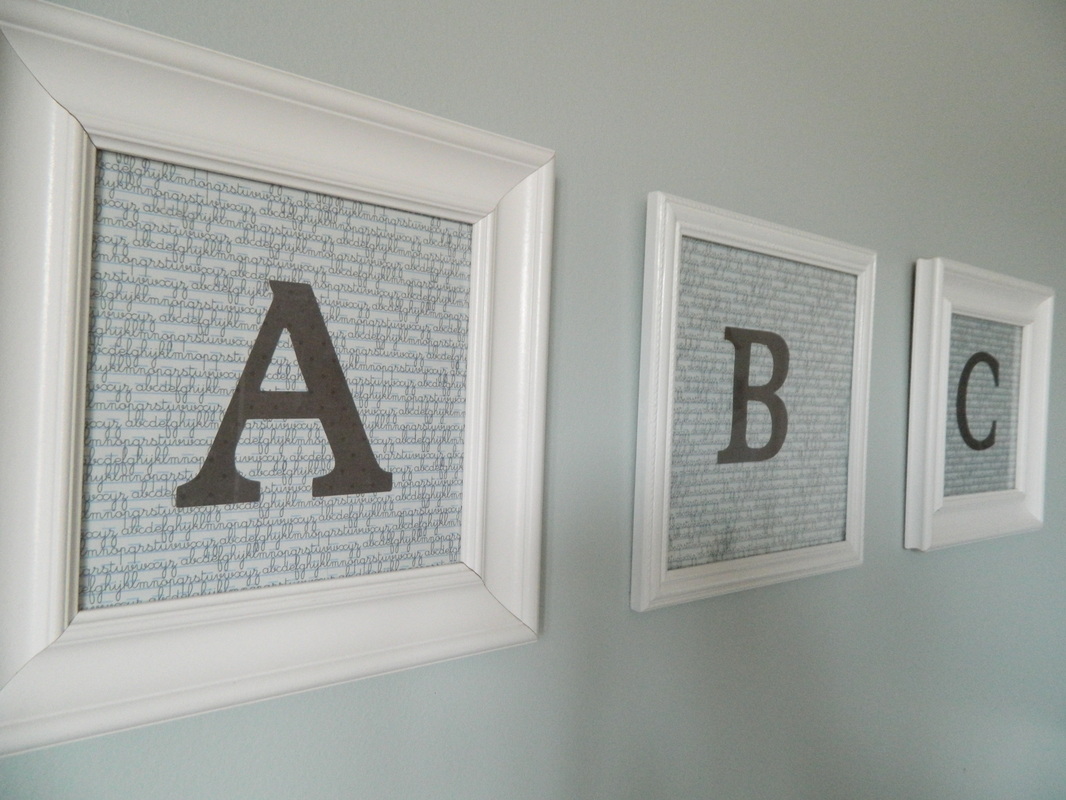
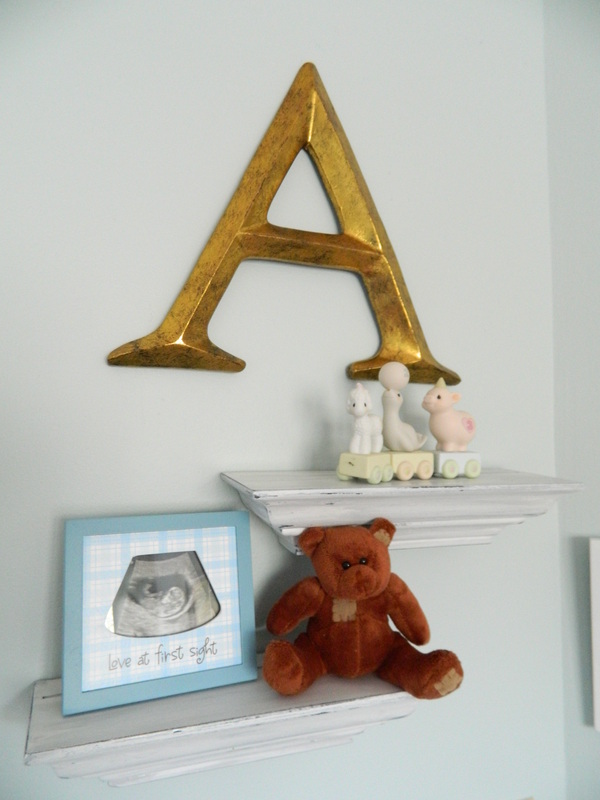
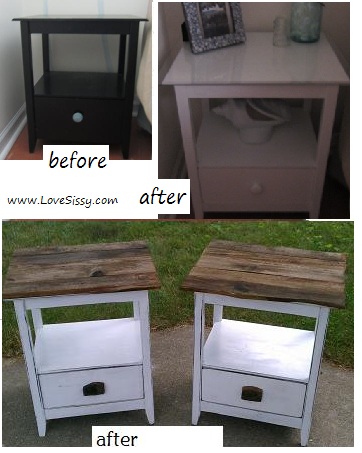
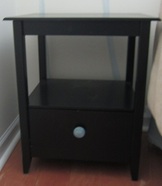
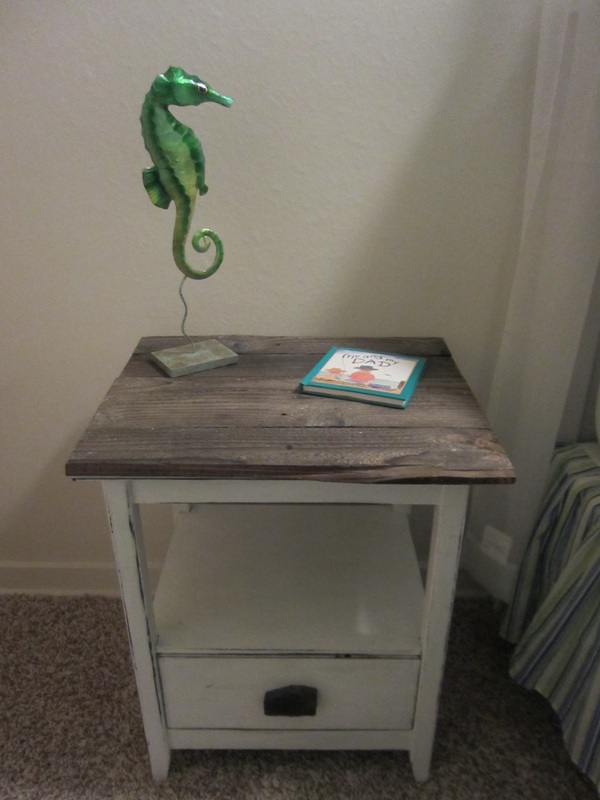
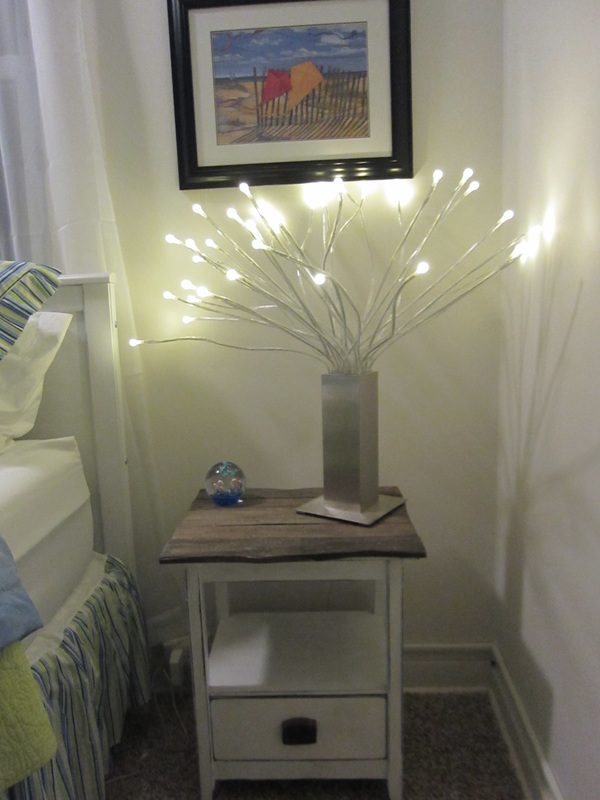
Asher's mama bargain hunted & used gifts, repurposed items she already had, thrifted finds, clearance pieces from RH mixed with internet, garage sale, IKEA, Target, & Hobby Lobby purchases. Do you see the gold A on the wall? Looks just like RH's, but was on clearance at Hobby Lobby for what you can find between your couch cushions on cleaning day! We repurposed IKEA "AS-IS" section pieces & vintage end table legs to create a sturdy storage bench window seat & she created her own wall art. I love that the old closet doors used to be mirrors, but are now covered with stick on chalkboard paper panels & softened with sheer curtains.
All said & done the total amount of money that came out of Mama's pocket was only a few hundred dollars (including supplies) thanks to gifts from generous friends & family and my sis-in-law's serious shopping & creating skills. (Just in case you wanted to know though, I did add up what you would have to spend to recreate the room if you purchased the items that were gifted & it still came in under $1,000. All of the furniture in the room is new, but to save even more you could use thrifted pieces & could come in closer to $600 if you really hunted & were willing to do some DIY.)
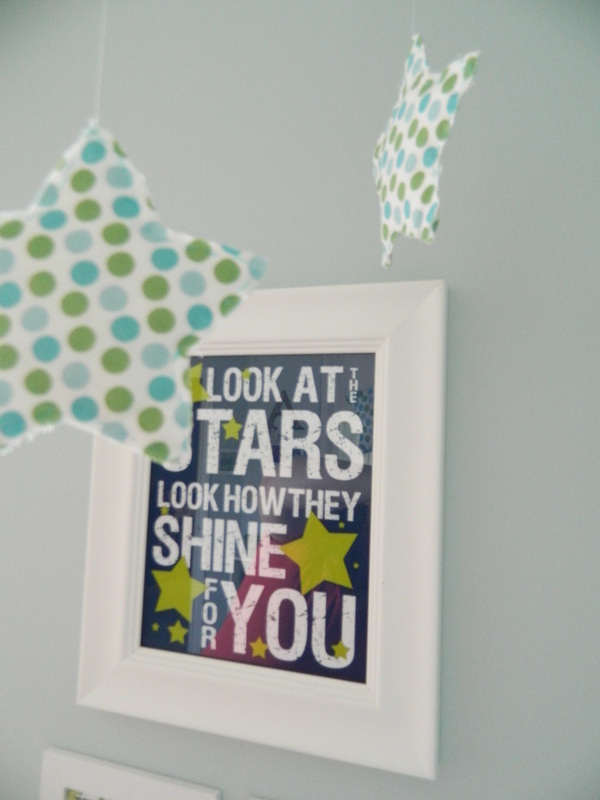
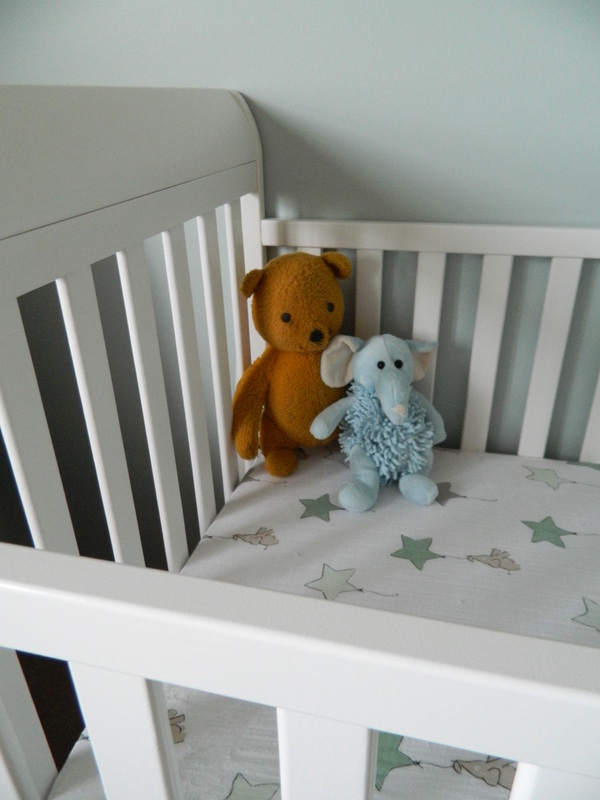
And here's Asher's Silver Sage nursery...
    |    |
Update
We lost Asher on 10/23/12 after a 6 week battle with CHD (Congenital Heart Disease) & thrombosis (blood clots). His 6 weeks here were an amazing gift. Asher became one well known little guy & people from all over the world still continue to send their love to his family. To read his amazing story, please CLICK HERE.


 RSS Feed
