www.lovesissy.com
  • Home
  • Walls
  • Accessories
  • Furniture
  • My Story
  • Asher
  • Olivia
  • FreeArtFriday

Pinterest hanging jar sconces

3/28/2013

0 Comments

 
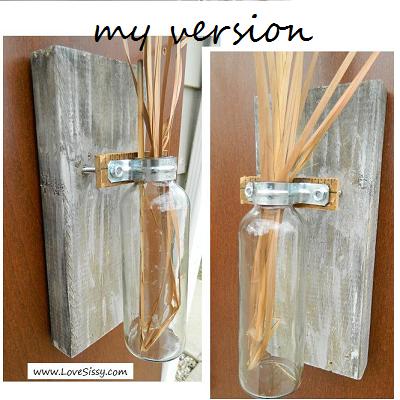
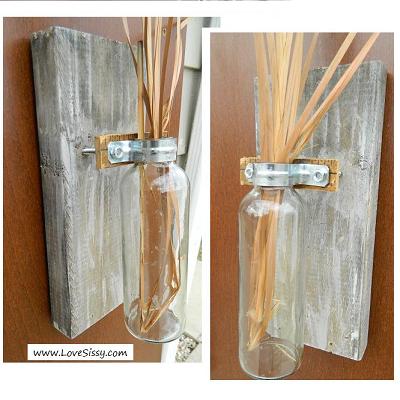
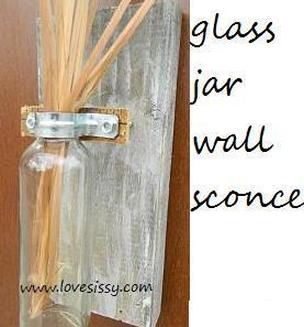
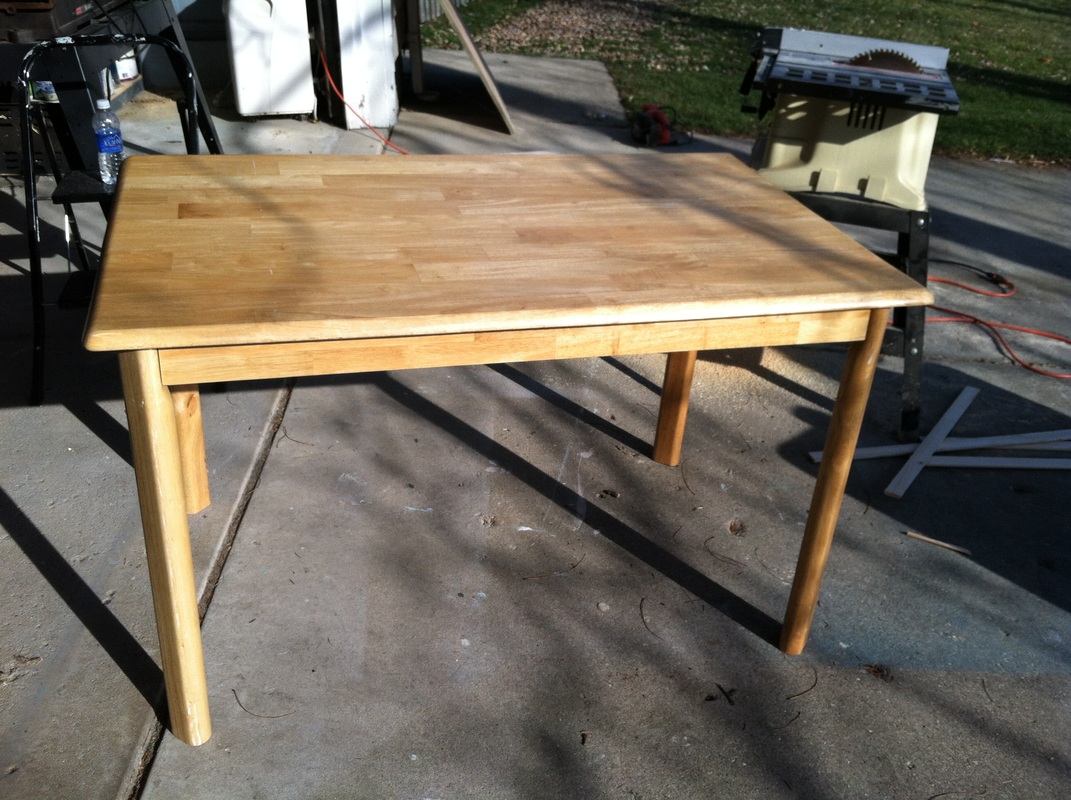
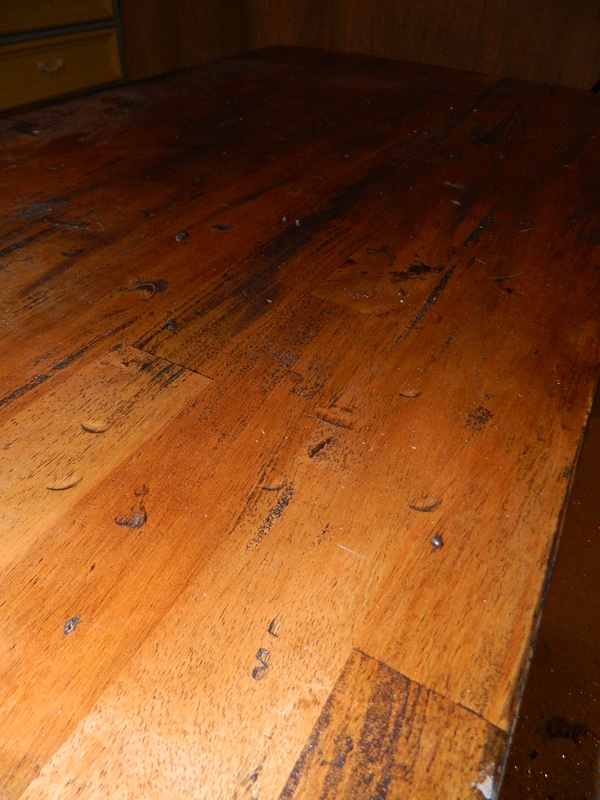
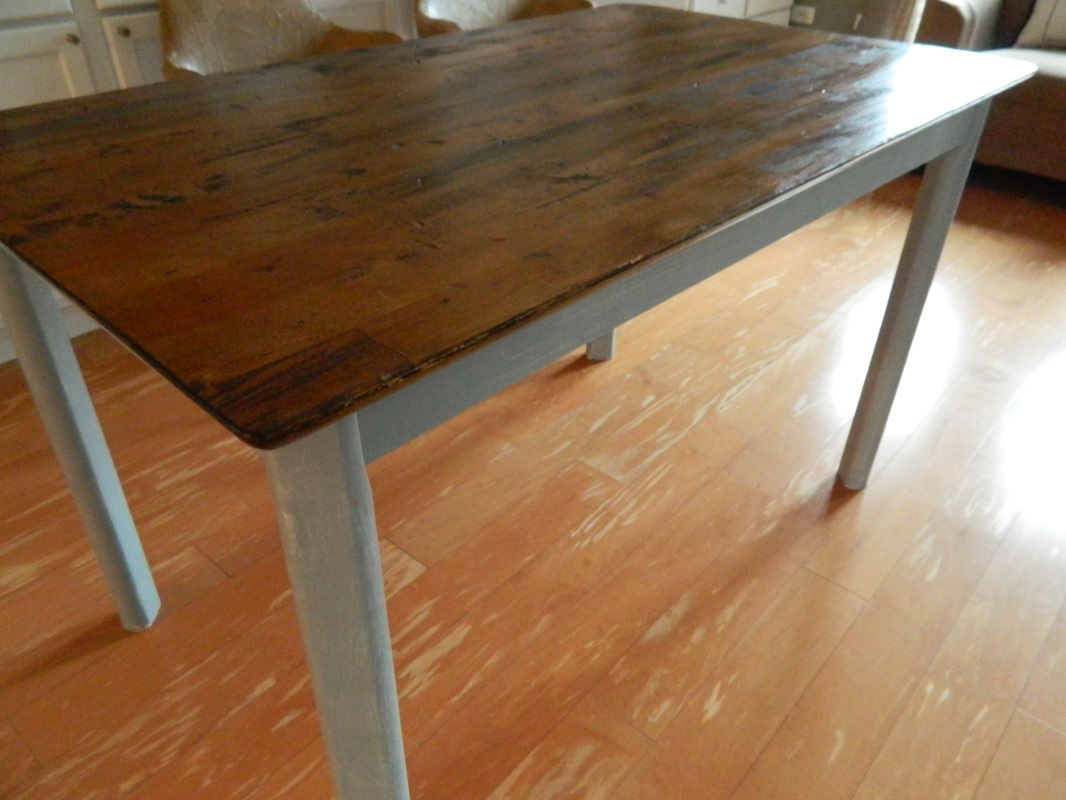
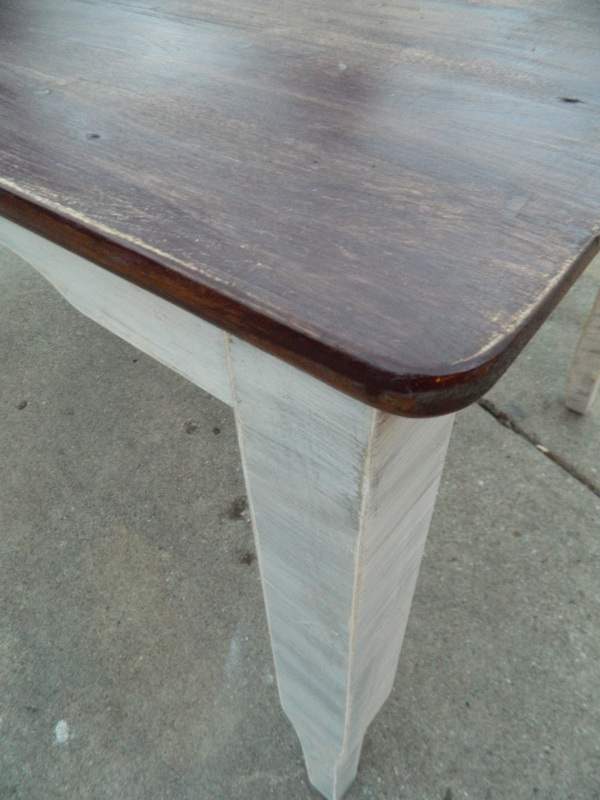
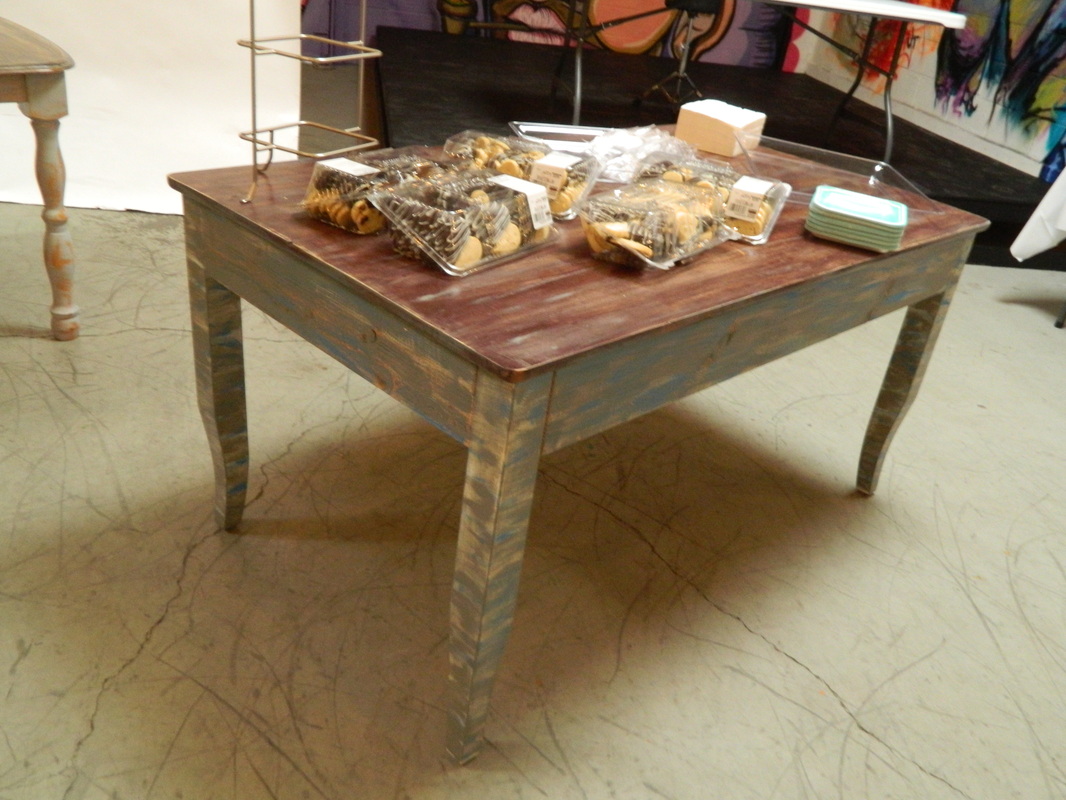
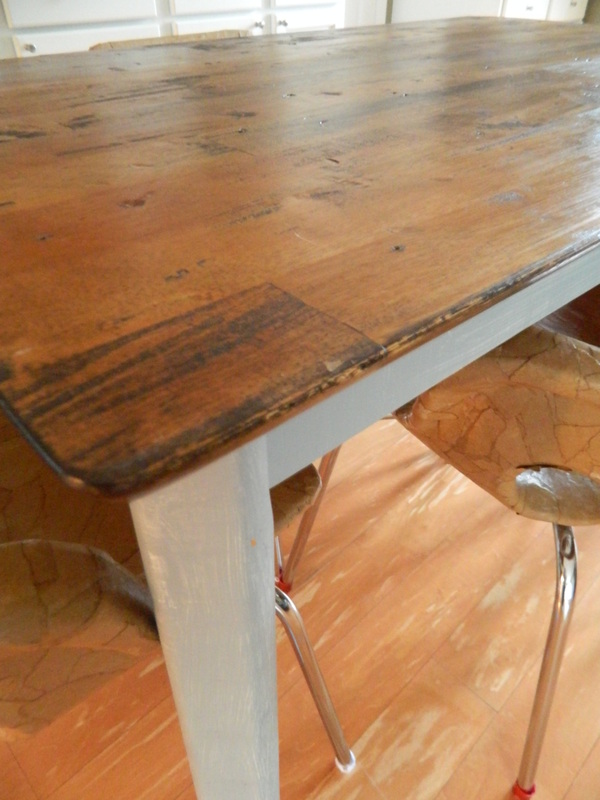
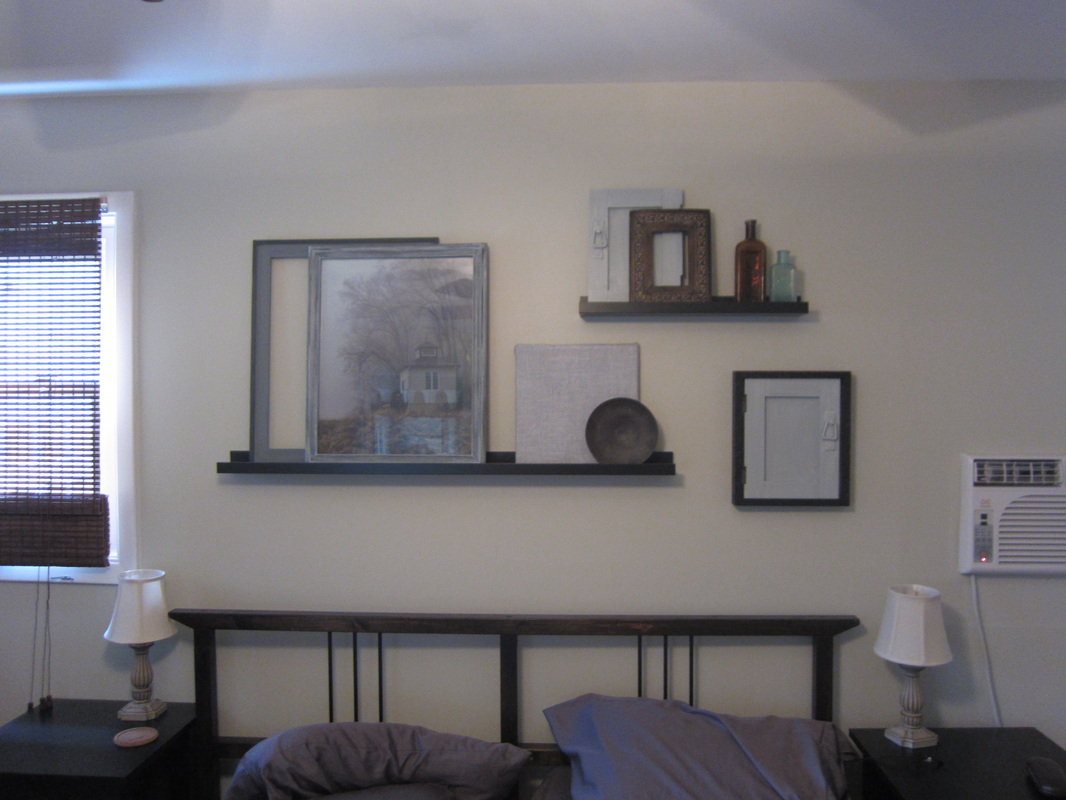
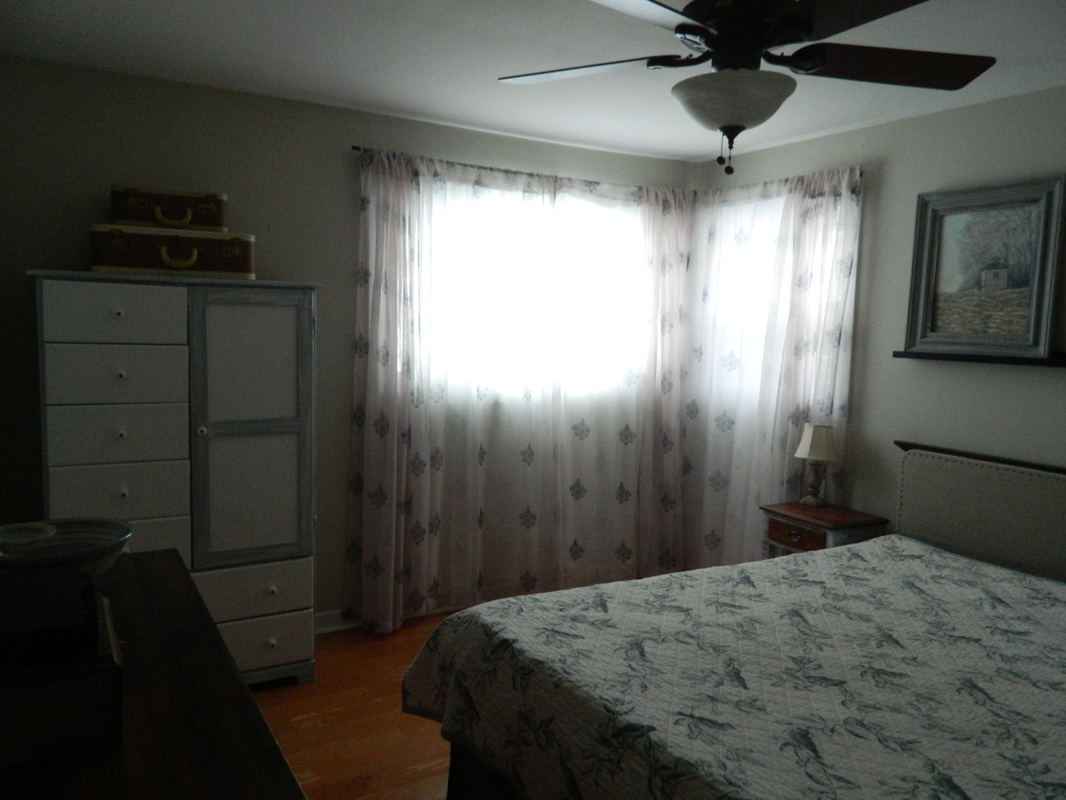
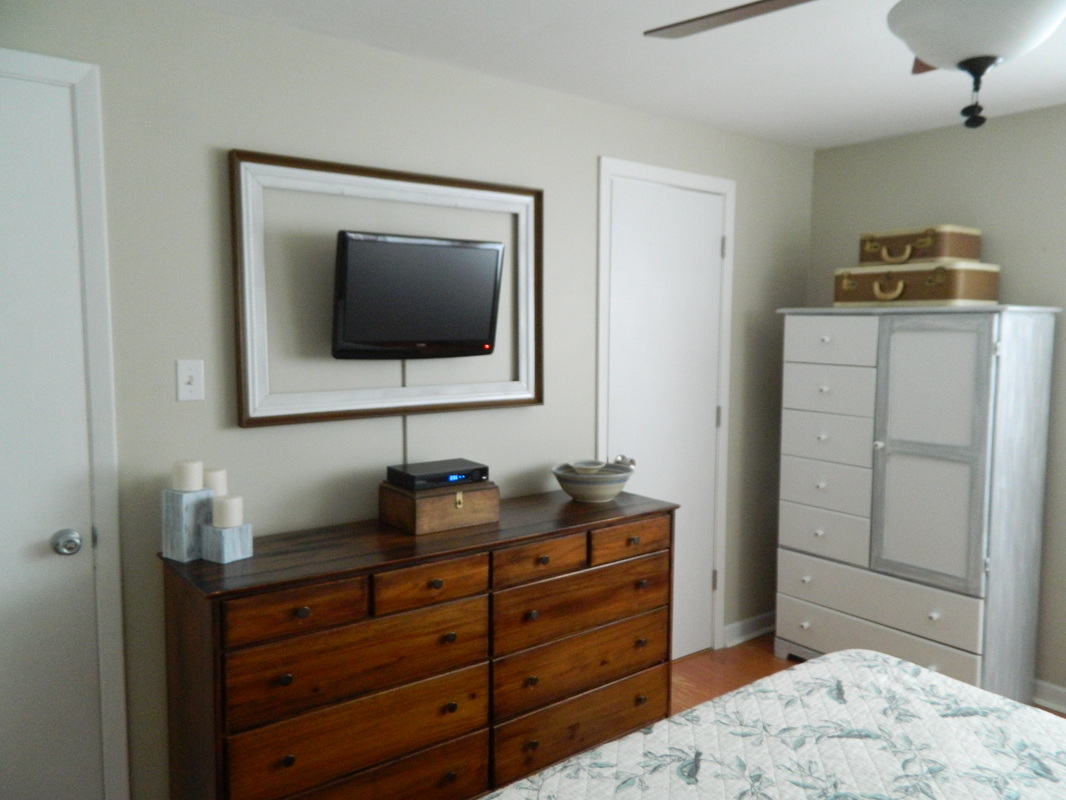
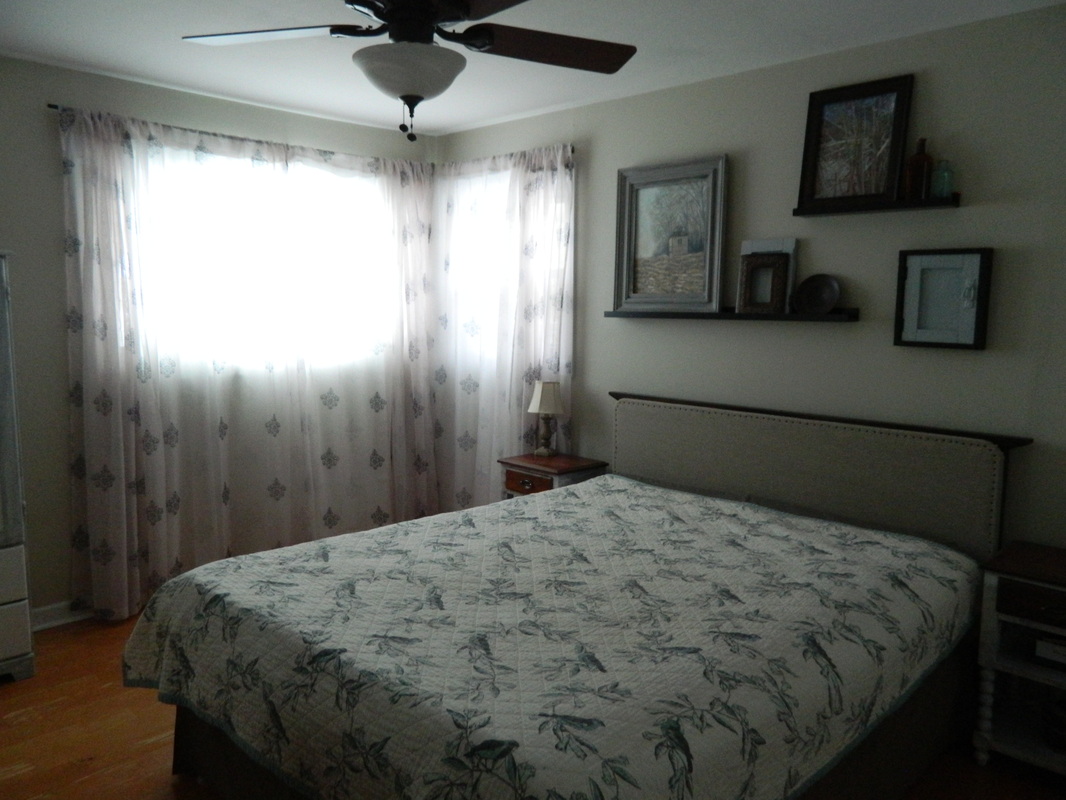
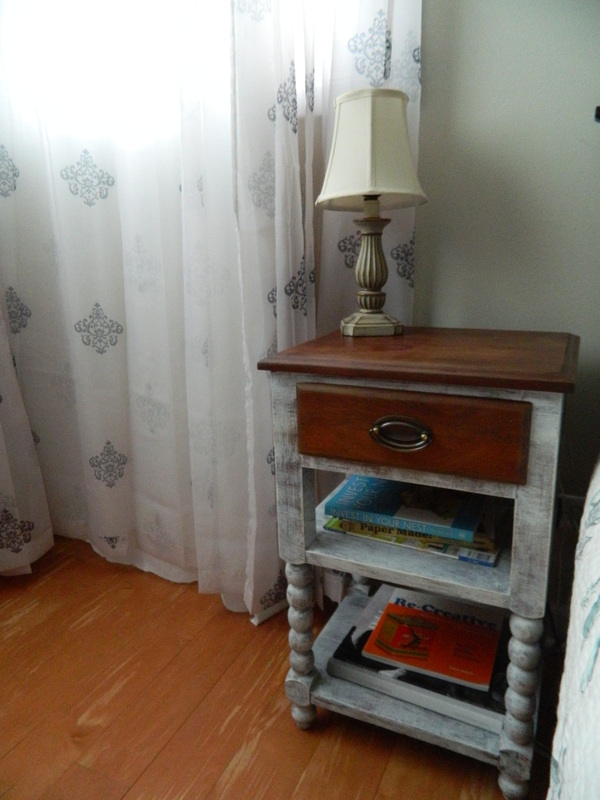
Thanks to websites like Pinterest, Hometalk, Etsy, & a huge variety of independent blogs, there is no shortage of creative, thrifty, crafty ideas for home decor. 
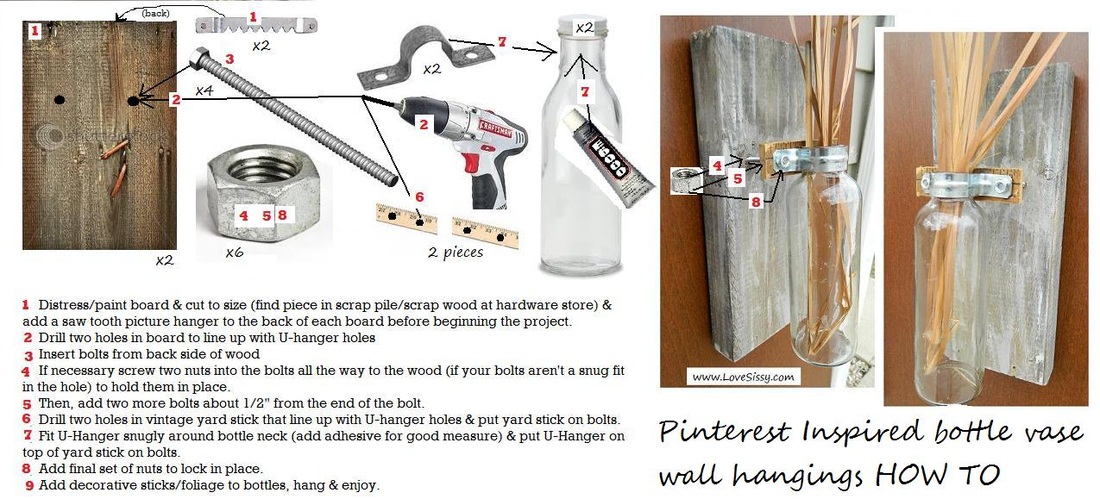
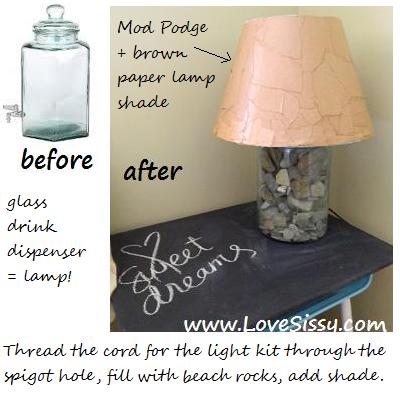
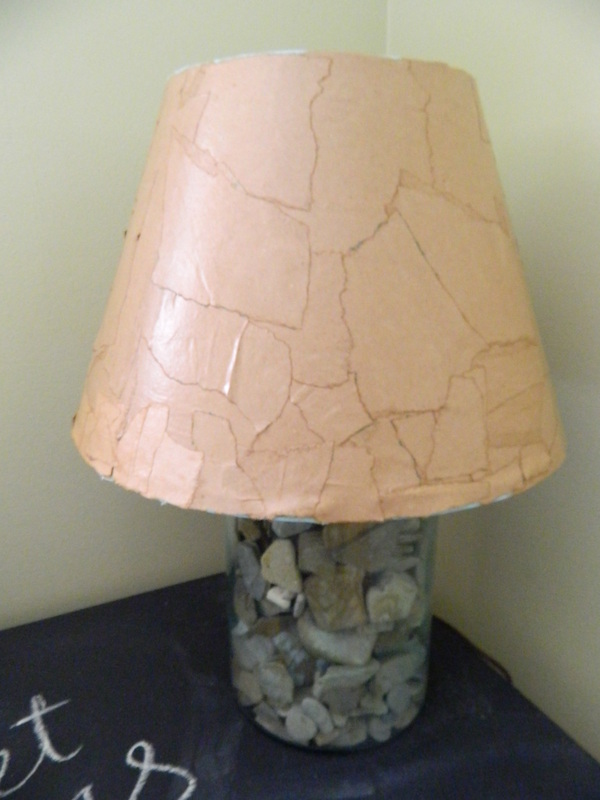
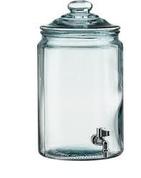
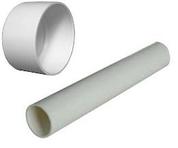
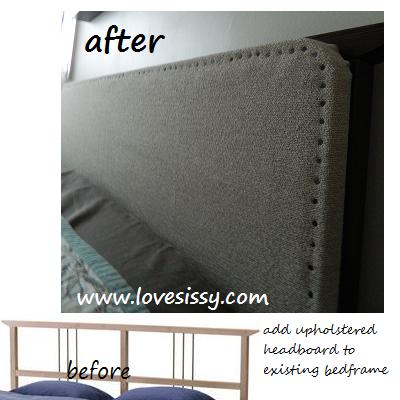
Picture
Picture
How To:
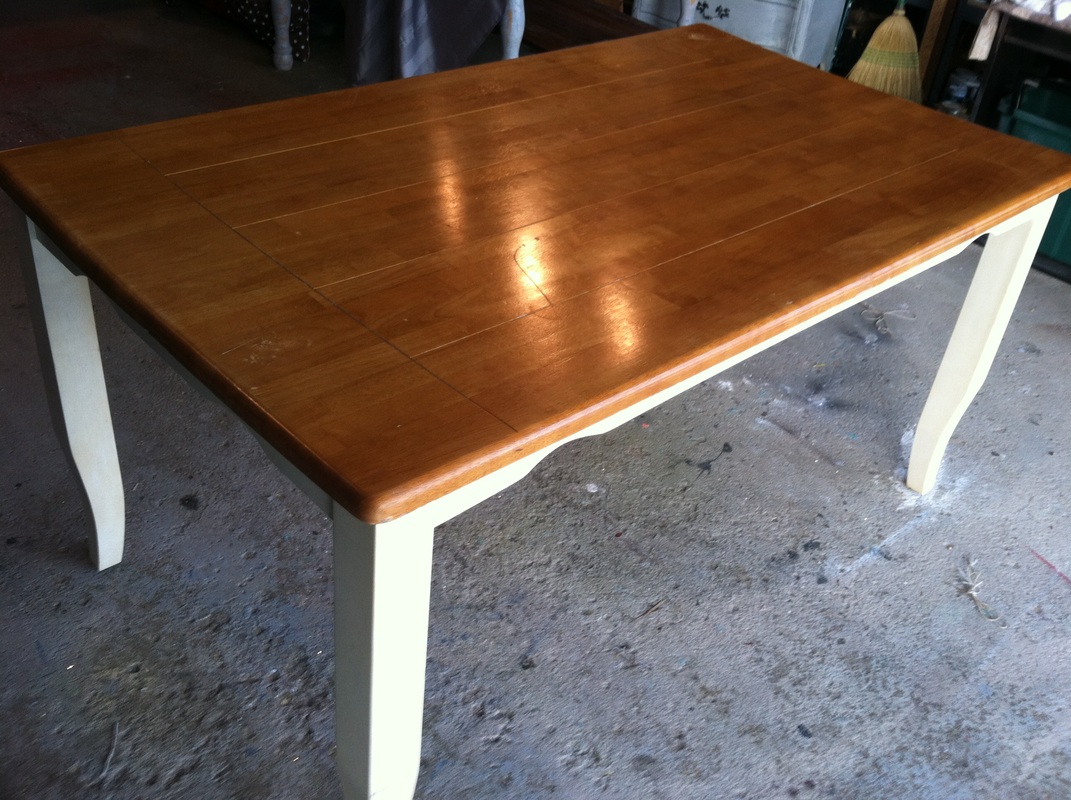
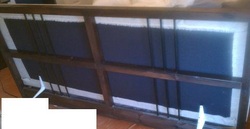
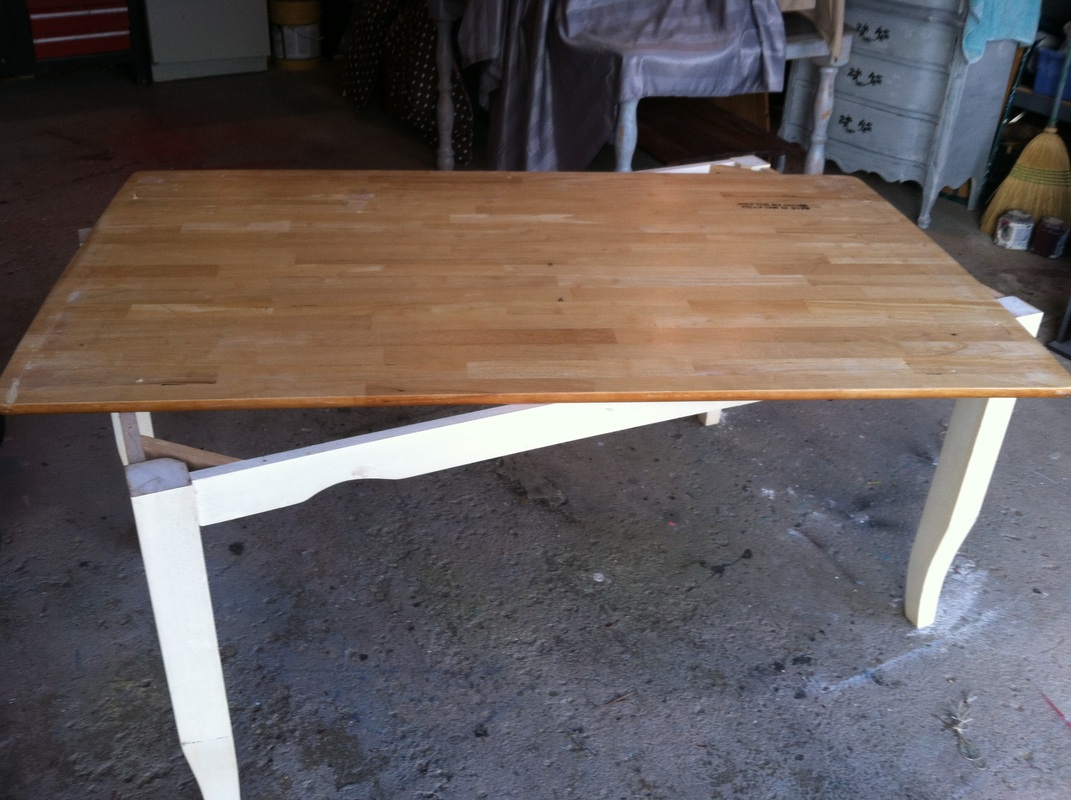
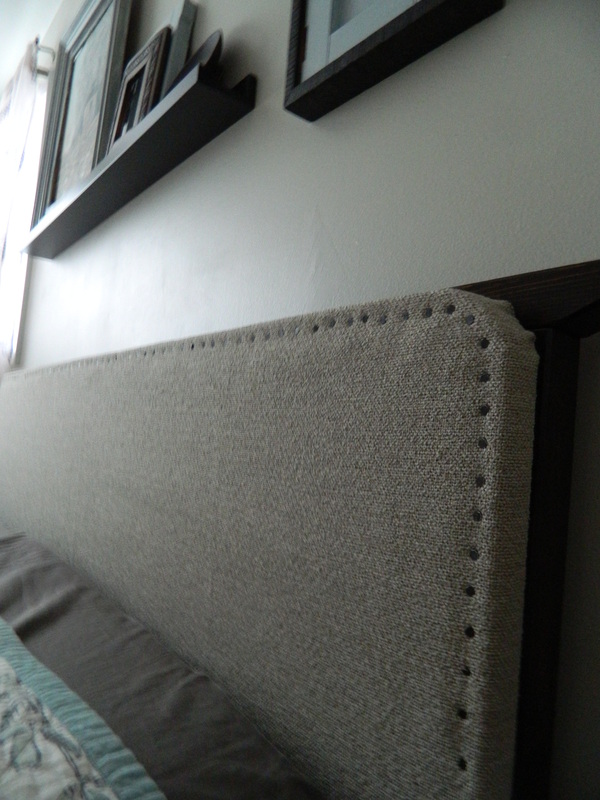
(click the directions below to enlarge)
Picture
Picture
Picture
0 Comments

build a beach rock lamp

3/23/2013

0 Comments

 
Picture
Picture

HOw to...

Picture
Find a glass beverage container & remove (usually twist off) the spigot. If you find a container like this, there's no need to drill through glass, which can be tricky. 

Next, you'll use PVC to build a center structure for the lamp. There are different diameters of PVC & you'll want to use the largest size that fits in your container so that you don't have to use as many rocks. That will keep the weight down. Rocks make for one heavy lamp! 
Picture
Purchase a PVC cap that fits the width of the PVC you chose. Cut the PVC to the height of your container or ask them to cut it at your local home improvement store. 
Picture
Drill a hole near the bottom of the PVC that lines up with the former spigot hole in the glass. 
Drill a hole in the PVC cap so that you can attach the lamp kit (purchase these at any home improvement store). 
Picture
Glue the PVC to the bottom of the glass & let it dry completely. 
Picture
Finally, thread the wiring from the lamp kit through the bottom 2 holes (the former spigot hole & the hole you drilled in your PVC), thread the wire up through the PVC & through the cap and wire up the lamp socket as listed in the directions of the lamp kit. 
Add your rocks & a shade of your choice. 
0 Comments

Flip your dining table

3/15/2013

0 Comments

 
Picture

Use this quick trick to turn your dining table into a reclaimed wood or farmhouse style table.
FLIP IT!
The underside of a dining table is usually unfinished wood--a perfect blank canvas. Remove a few screws & flip your table top so that the underside becomes the new top side.  You can stain it or paint it or both. Then, prime & paint the legs.  Finally, distress it all with whatever you have laying around--sand paper, a hammer, a wire brush, etc. You can use a wipe on polyurethane or quick dry sealer to add durability, but the beauty of this style of table is that the more wear it endures, the better it looks. 
Picture
BEFORE
Picture
FLIP IT
Picture
AFTER
Picture
Picture
Picture

Picture
Picture
Picture
0 Comments

easy, cheap, quick headboard

3/6/2013

1 Comment

 
Picture
Picture
This project starts out with an inexpensive bed frame (stained dark) from IKEA.

Picture
Here's the stained bedframe. 

Picture
IKEA often has large pieces of wood & foam in their As-Is section. You can find the size you need, cover it in foam & fabric with a staple gun.  Then, just use shelving brackets to attach the headboard to the bedframe.

Picture
If you like the look of nailhead trim, you can press thumbtacks into the foam around the front border of the new headboard.

This entire project costs under $20 with all supplies & takes about an hour.

Picture
Picture
Picture
Picture
Picture
Picture
1 Comment

    THanks!

    Thanks for visiting. Hope you're enjoying the blog. Visit me on facebook if you have a minute. I love new friends.

    Archives

    July 2013
    April 2013
    March 2013
    February 2013
    January 2013
    November 2012
    August 2012
    July 2012
    May 2012

    Categories

    All
    Chairs To Stools
    Dresser To Storage Bench
    Fabric Flowers
    Headboard
    How To Age Wood
    Mod Podge
    Particle Board Redo
    Plank Pipe Leg Tables
    Reclaimed Dining Table
    Repurpose Crates
    Repurposed Furniture
    Repurposed School Desks
    Restoration Hardware Copy
    Rock Lamp
    Rustic Tableware
    Suitcases
    Tee Pee
    Tree Branch Slices
    Tshirt Bag

    RSS Feed

Powered by Create your own unique website with customizable templates.