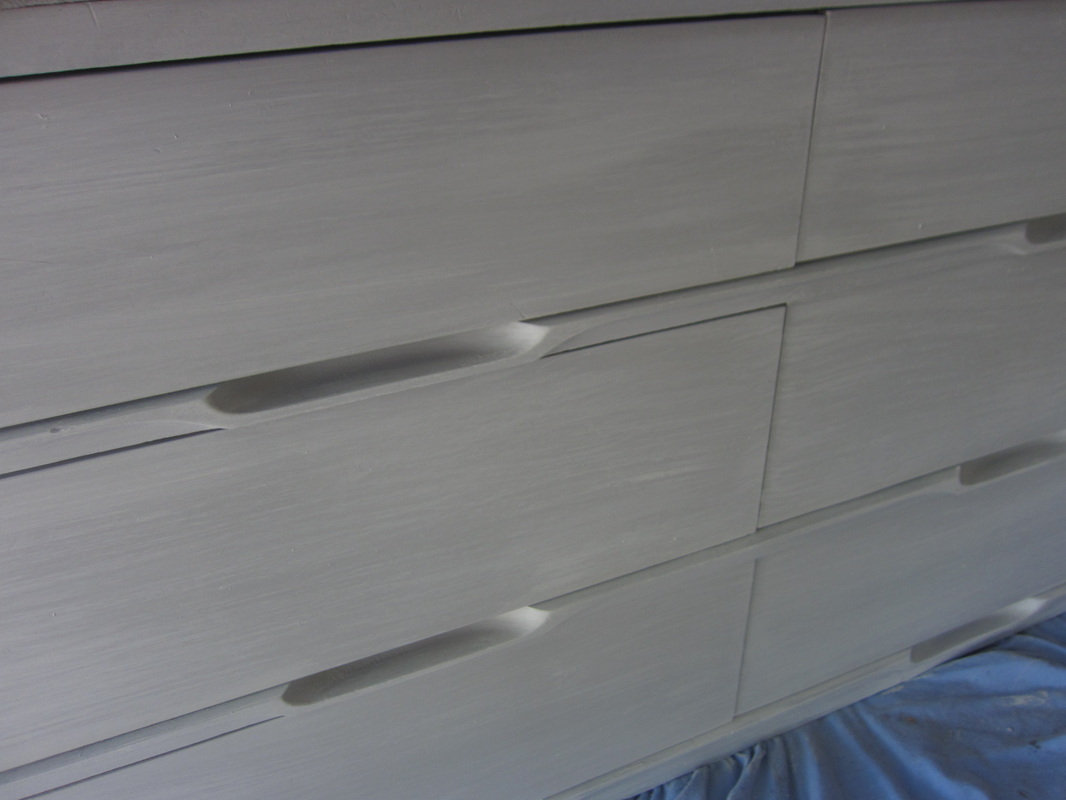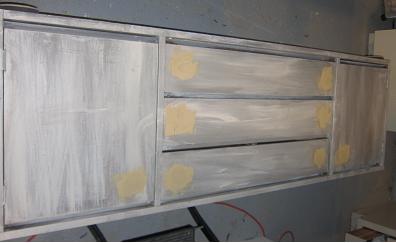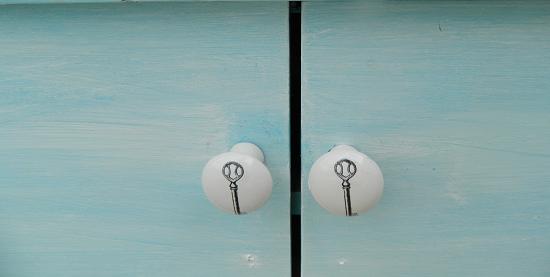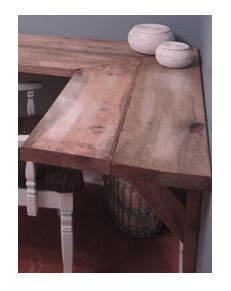
A more labor intensive way to age wood would be to think about all the finishes it would've had if it were genuinely 50 years old. It would've been sanded & stained first. Then, banged up A LOT & when it was good and banged up someone would've primed then painted it. Then over the years it would've been painted & repainted. And finally, it would've been banged up more with a lot of wear on the edges, around knobs, etc. So follow that pattern--sand it, stain it, beat it up, prime it, paint it, paint it, paint it, paint it, beat it up, use a sander to add wear to commonly touched areas & edges.
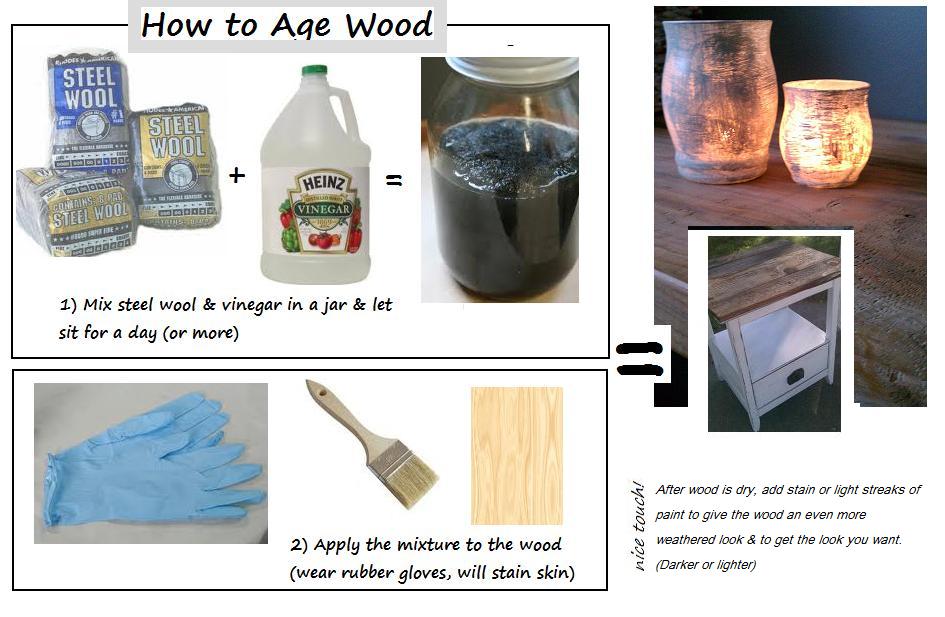
Soak steel wool in a jar of vinegar for a day or two. Then, put that concoction over any type of unfinished wood. Some type of chemical reaction happens (Science isn't my thing) to give it an aged look. To further age it, beat the heck out of the wood w/ a hammer or any old object laying around, drop the wood, kick it, etc. You can also use a dry brush to lightly add "old paint" to it.
A more labor intensive way to age wood would be to think about all the finishes it would've had if it were genuinely 50 years old. It would've been sanded & stained first. Then, banged up A LOT & when it was good and banged up someone would've primed then painted it. Then over the years it would've been painted & repainted. And finally, it would've been banged up more with a lot of wear on the edges, around knobs, etc. So follow that pattern--sand it, stain it, beat it up, prime it, paint it, paint it, paint it, paint it, beat it up, use a sander to add wear to commonly touched areas & edges.
1 Comment
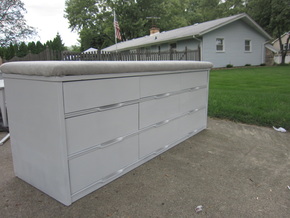
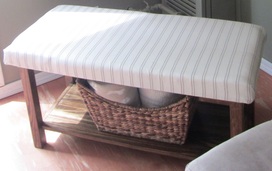
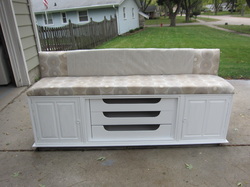
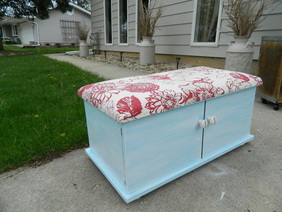
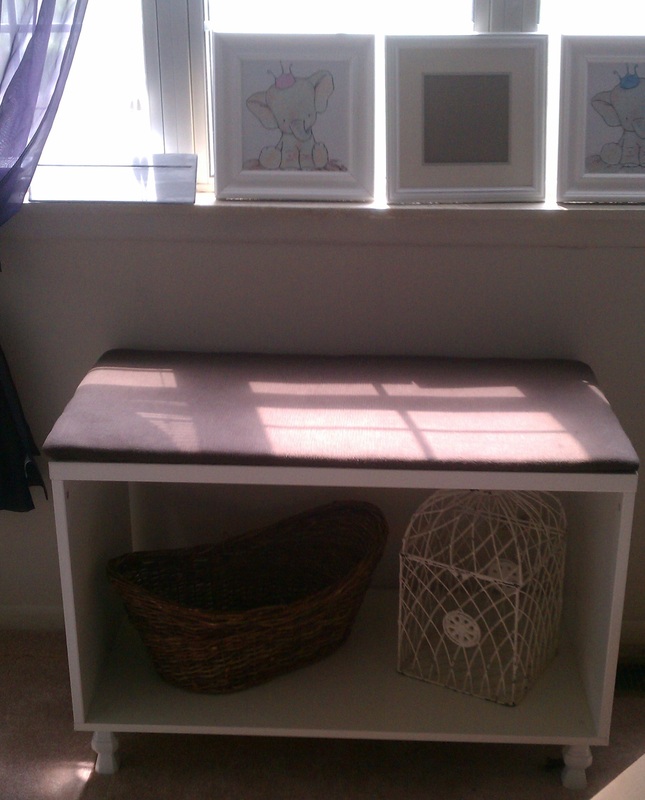
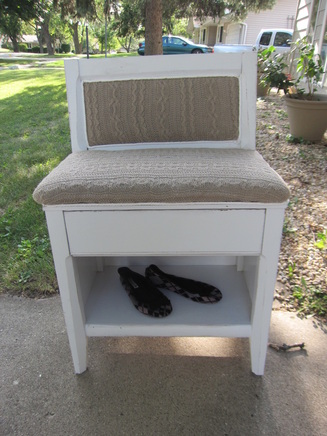
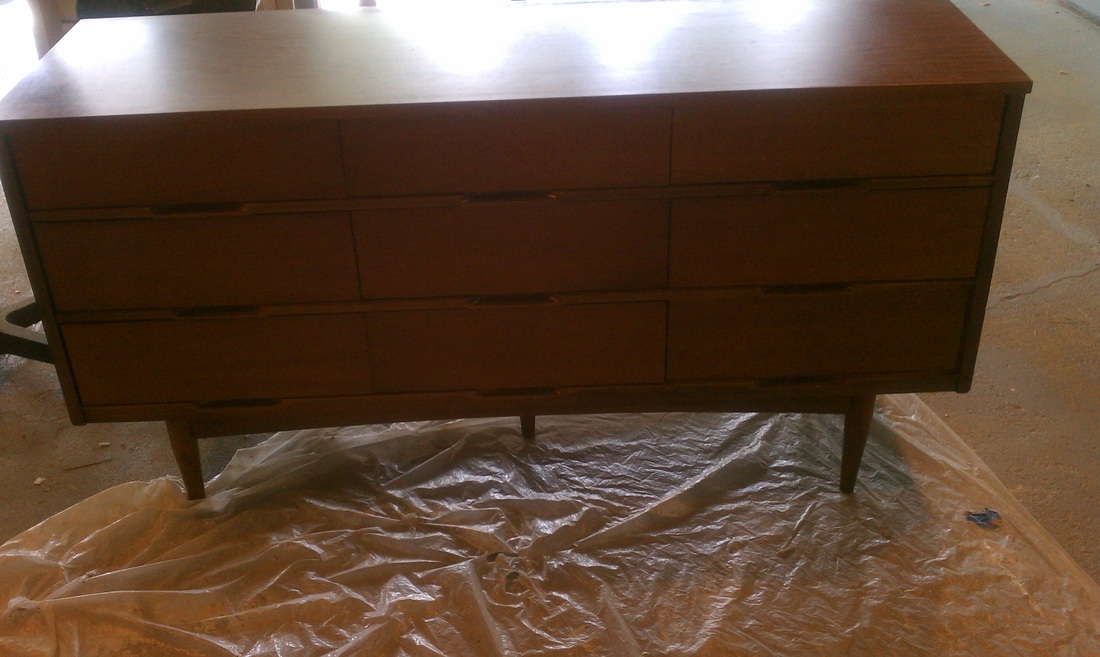
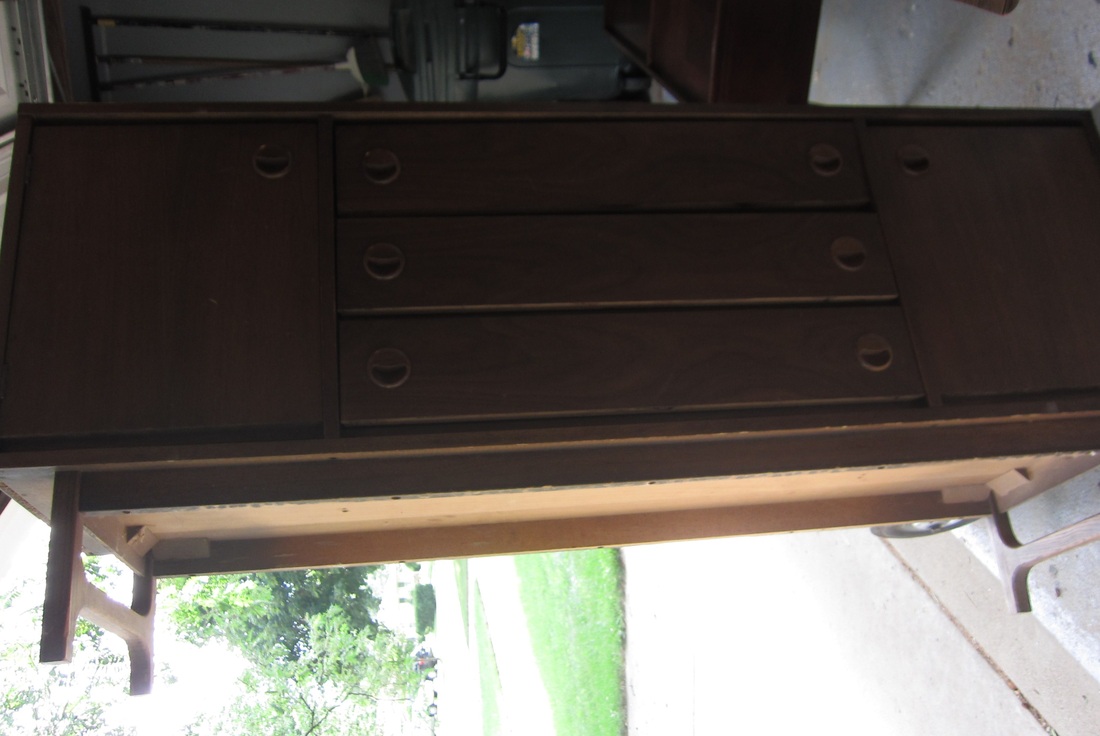
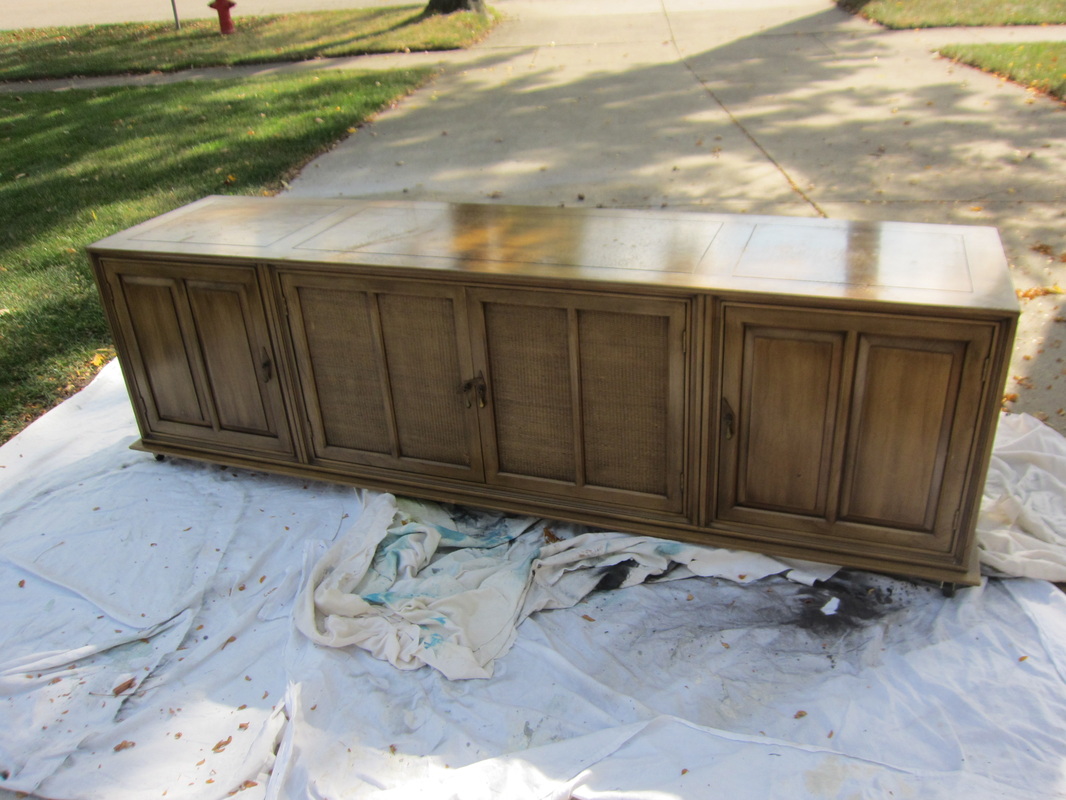
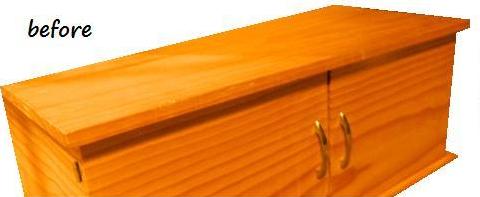
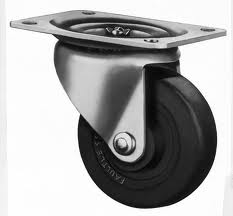
A good DIY project solves a problem & saves money. Repurposing inexpensive items (or items we already have) opens up a whole new world of possibilities. You can't have too much seating or too much storage. When you take a dresser or cabinet and turn it into a bench, you get more of both! You can fit this seating option in slim spaces, including entry ways and shoes, toys, or other visual clutter can be put behind closed doors or drawers. If you don't have a separate mudroom, a storage bench is the perfect solution. You can put one at the end of your bed in a bedroom or as built in seating in a dining room. When done in neutral colors, a dresser bench can move from room to room or place to place with you. Use outdoor fabrics, paints, & sealers and they work outdoors too! Check out these ideas for seating with storage & a "HOW TO" at the end of this post. HOW TO!Step 1: Find the right starting pieceYou'll want to find a dresser or cupboard that is bench height or a dresser that has legs. Legs are easy to remove (they generally just unscrew--those are the easiest). Remove the legs & you have a bench height furniture piece. Here are a few BEFORE pictures of good starting pieces... Step 2: Paint & hardwareRemove old hardware & prime & paint the piece. Step 3: Create upholstered topCut a piece of plywood the same size as the existing top of the bench. Then, spray glue padding & a layer of batting to the top. Finally, use a staple gun to upholster the top. Here is a great tutorial from The Little Green Notebook on upholstering a bench top & on how to do the corners (which can be tricky) UPHOLSTERING A BENCH TOP + CORNERS Step 4: Attach top to benchAfter the top is upholstered, position it on top of the piece's existing top, remove the drawers (or open the cupboards) & screw it in from the underside/inside with screws long enough to go through both layers, but short enough not to poke through your upholstered bench top. Step 5: wheels or felt |
THanks!Thanks for visiting. Hope you're enjoying the blog. Visit me on facebook if you have a minute. I love new friends. Archives
July 2013
Categories
All
|