
If I had a world of my own, everything would be nonsense. Nothing would be what it is, because everything would be what it isn't. -Alice, Alice in Wonderland | 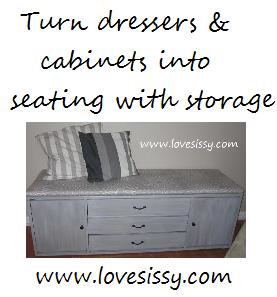 |
A good DIY project solves a problem & saves money. Repurposing inexpensive items (or items we already have) opens up a whole new world of possibilities. You can't have too much seating or too much storage. When you take a dresser or cabinet and turn it into a bench, you get more of both! You can fit this seating option in slim spaces, including entry ways and shoes, toys, or other visual clutter can be put behind closed doors or drawers. If you don't have a separate mudroom, a storage bench is the perfect solution. You can put one at the end of your bed in a bedroom or as built in seating in a dining room. When done in neutral colors, a dresser bench can move from room to room or place to place with you. Use outdoor fabrics, paints, & sealers and they work outdoors too!
Check out these ideas for seating with storage & a "HOW TO" at the end of this post.
    |   |
HOW TO!
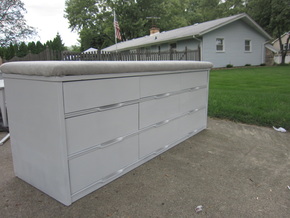
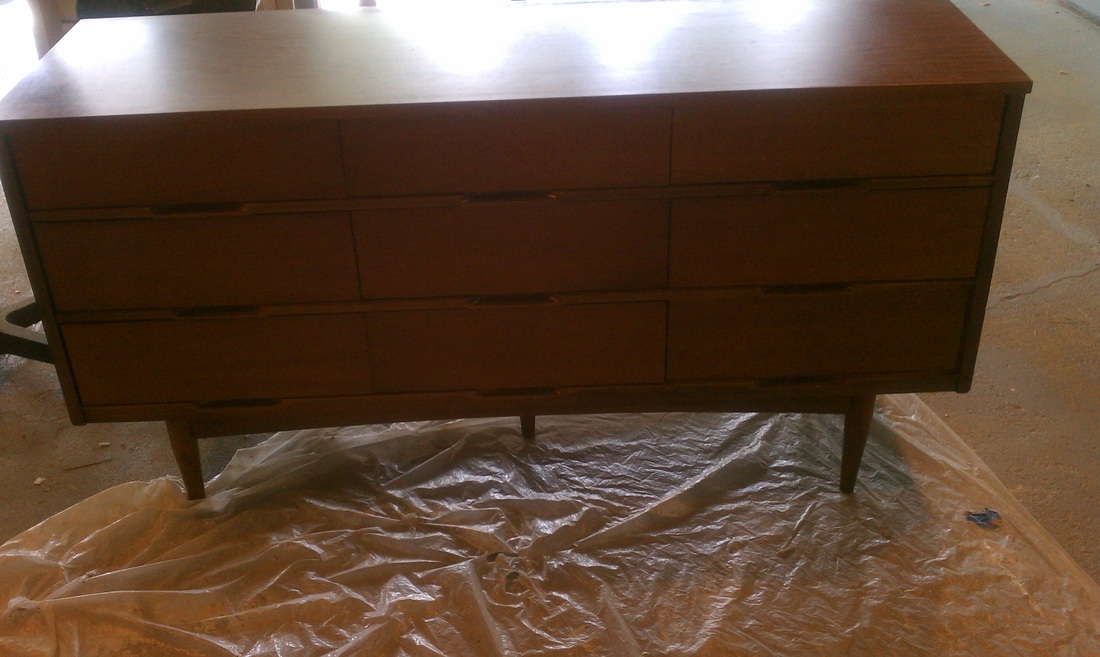
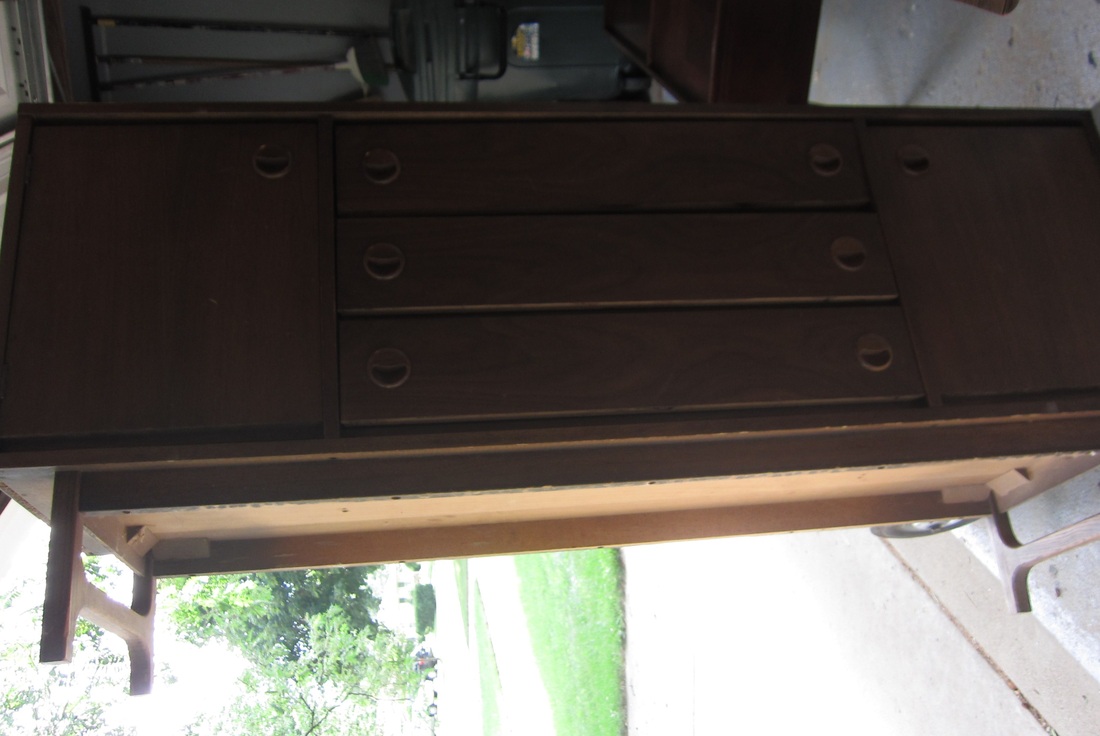
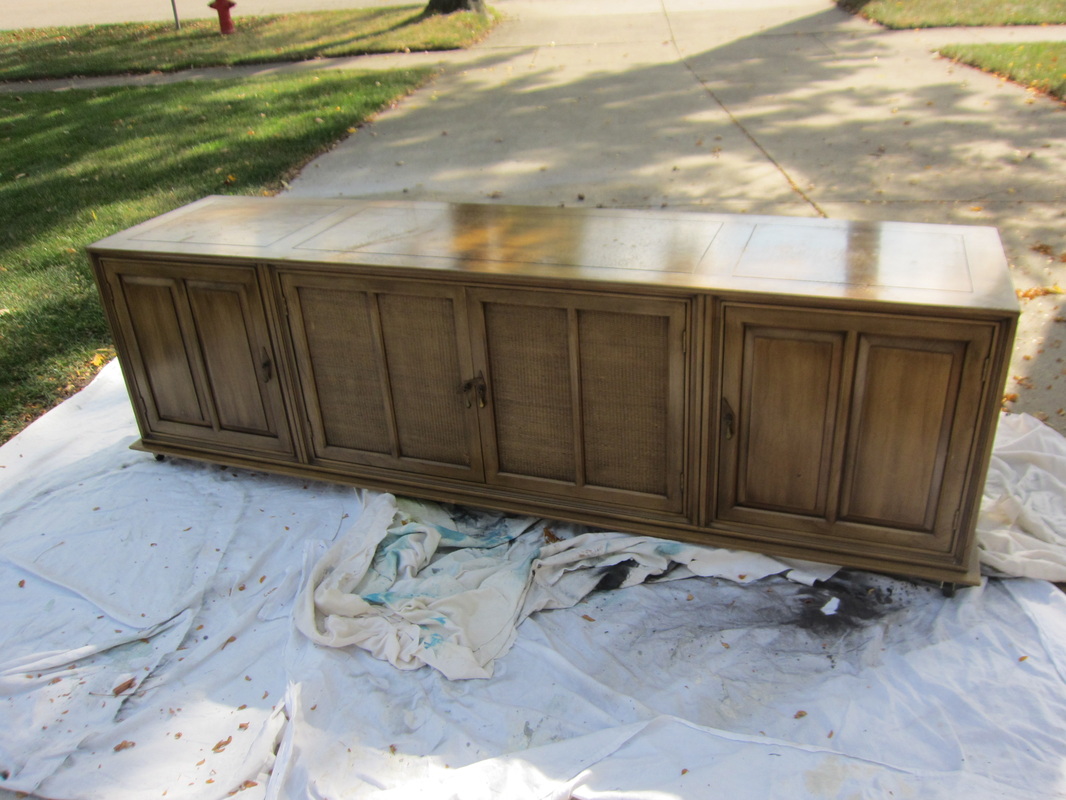
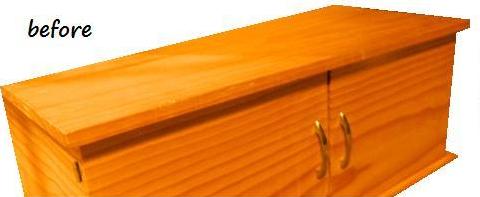
Step 1: Find the right starting piece
You'll want to find a dresser or cupboard that is bench height or a dresser that has legs. Legs are easy to remove (they generally just unscrew--those are the easiest). Remove the legs & you have a bench height furniture piece.
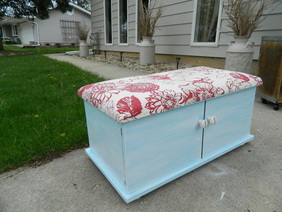
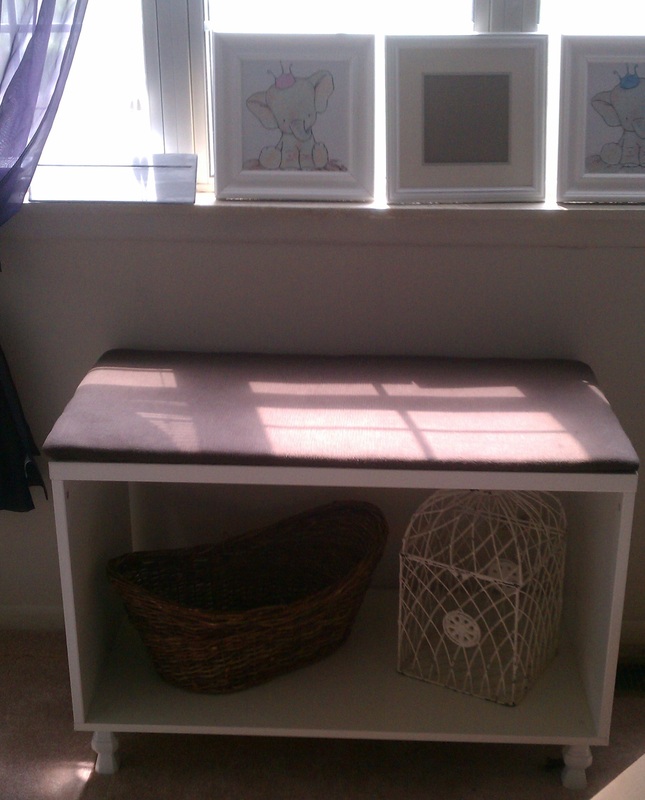
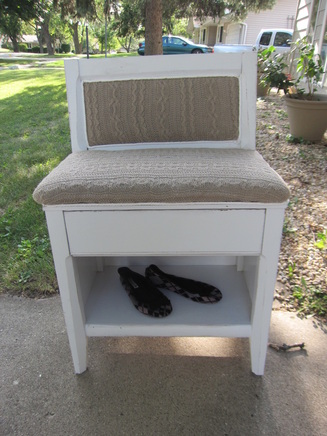
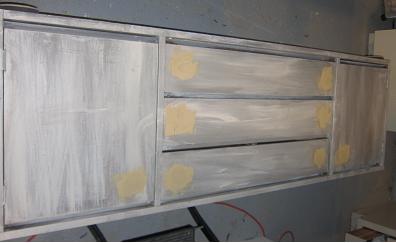
Here are a few BEFORE pictures of good starting pieces...
Here are a few BEFORE pictures of good starting pieces...
 |  |  |  |
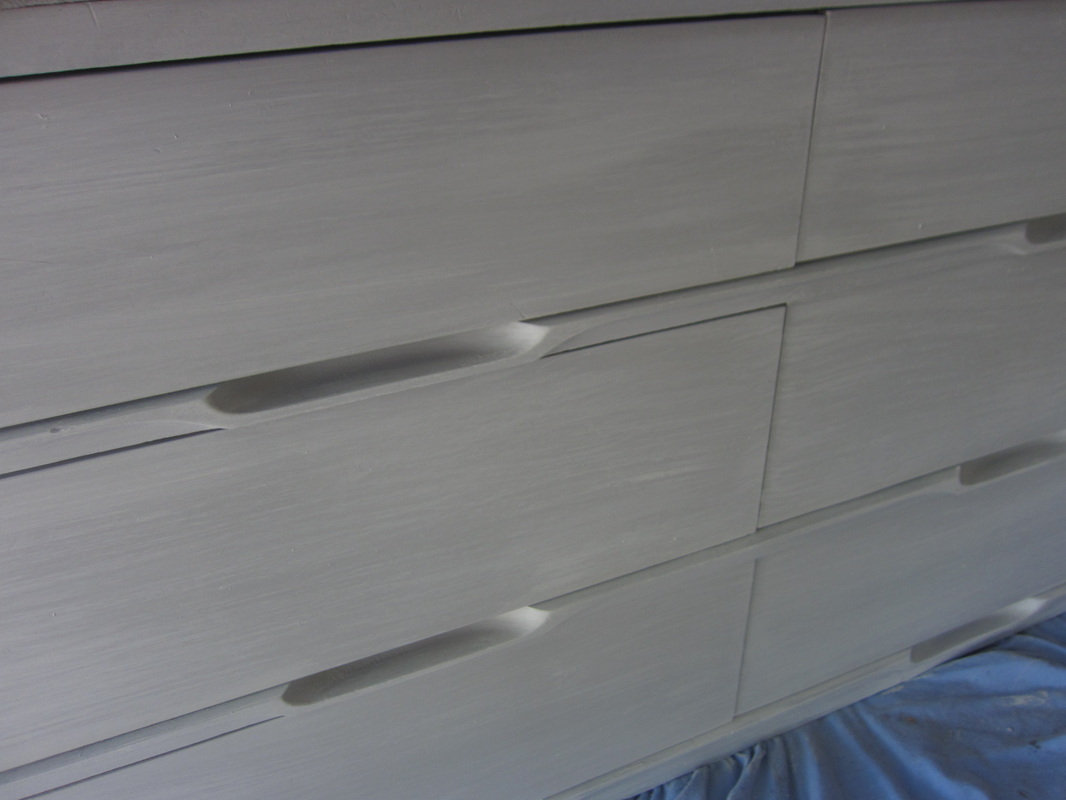
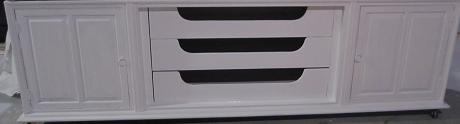
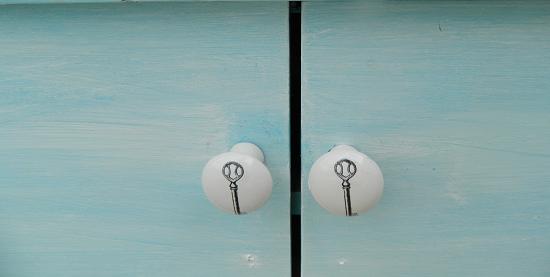
Step 2: Paint & hardware
Remove old hardware & prime & paint the piece.
 |  |  |  |
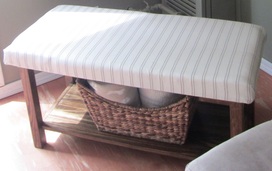
Step 3: Create upholstered top
Cut a piece of plywood the same size as the existing top of the bench. Then, spray glue padding & a layer of batting to the top. Finally, use a staple gun to upholster the top. Here is a great tutorial from The Little Green Notebook on upholstering a bench top & on how to do the corners (which can be tricky) UPHOLSTERING A BENCH TOP + CORNERS
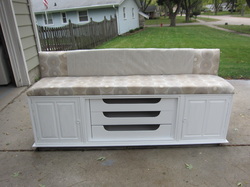
Step 4: Attach top to bench
After the top is upholstered, position it on top of the piece's existing top, remove the drawers (or open the cupboards) & screw it in from the underside/inside with screws long enough to go through both layers, but short enough not to poke through your upholstered bench top.
Step 5: wheels or felt
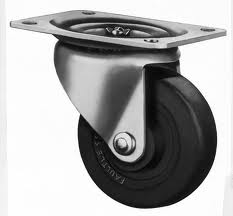 | For indoor benches add felt to the bottom to protect the floors. For outdoor benches, add short casters or wheels to make them easy to move. You just screw these wheels right into the bottom of the dresser. | 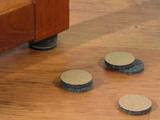 |

 RSS Feed
